Let's do it together!
Step 1: Overview Components
Familiarize yourself with the three components: the map, the History Replay, and the Fleet Overview.
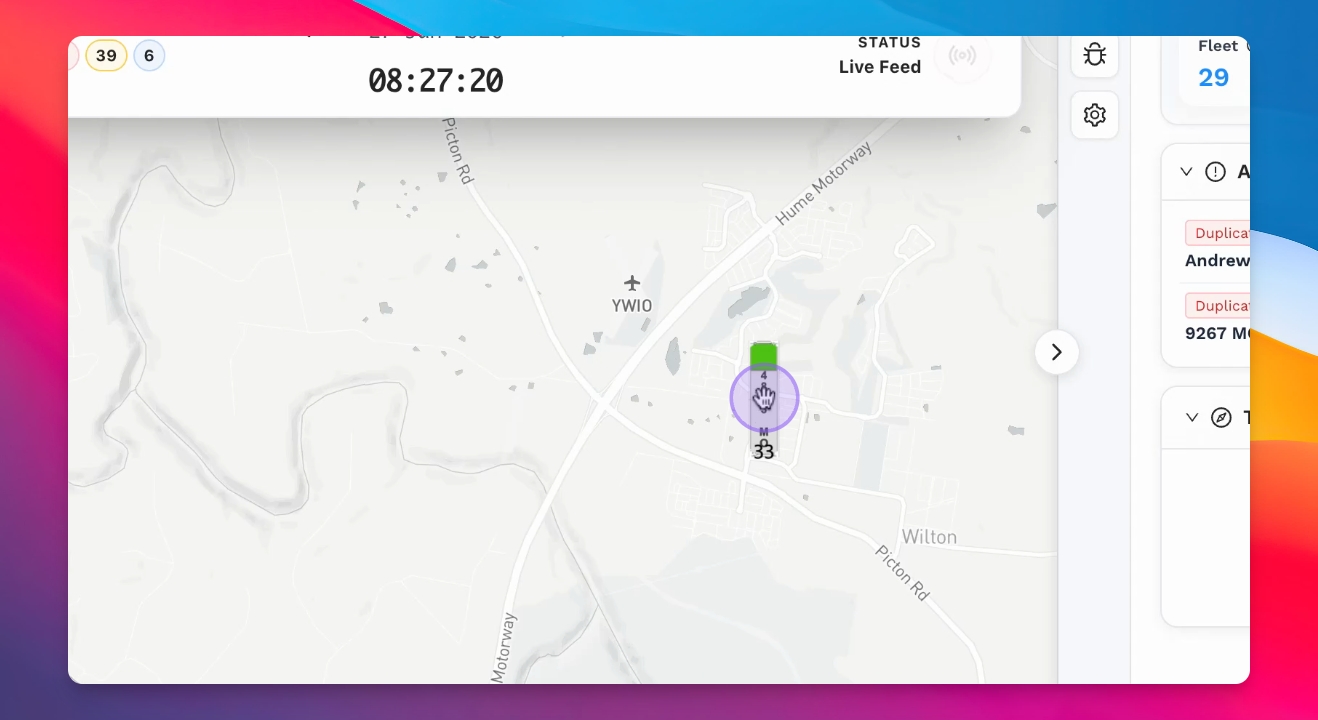
Step 2: View Vehicle Status
On the map, see vehicle statuses: green for on time, red for early, and orange for making a dead run.
Step 3: Access History Replay
Use the History Replay Timeline to scrub through vehicle events and movements.
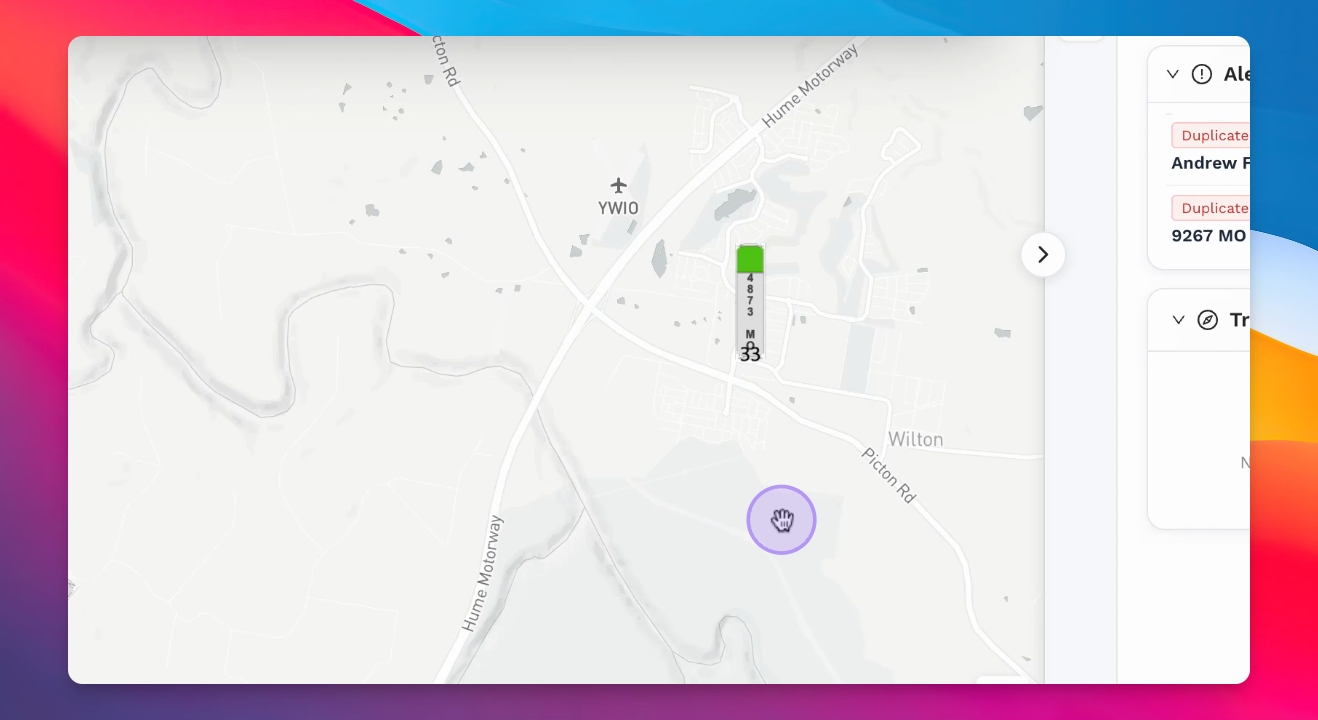
Step 4: Check Fleet Overview
View the Fleet Overview for vehicle statuses and alert feeds on the right side.
Step 5: Click on Vehicle
Select a vehicle to view its route and progress, including speed and journey completion percentage.
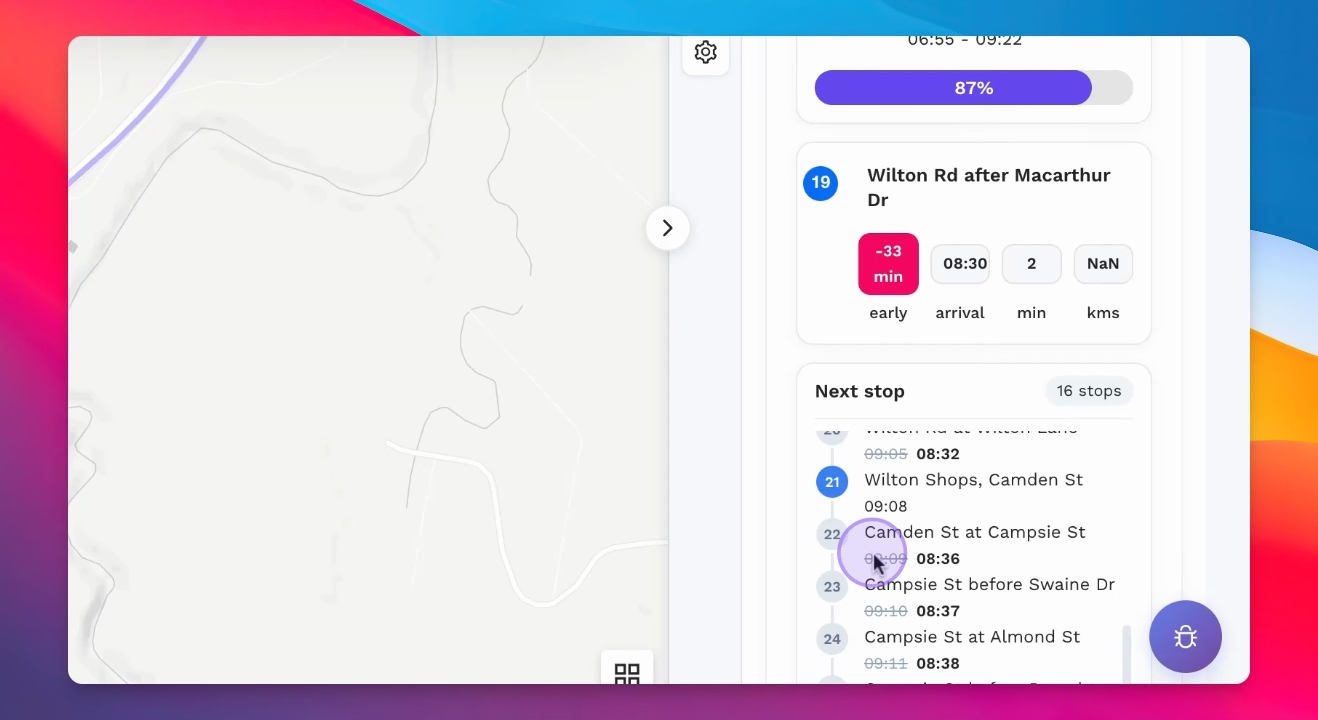
Step 6: Analyze Next Stops
Check the next stop and estimated arrival time, along with a list of upcoming stops with color coordination.
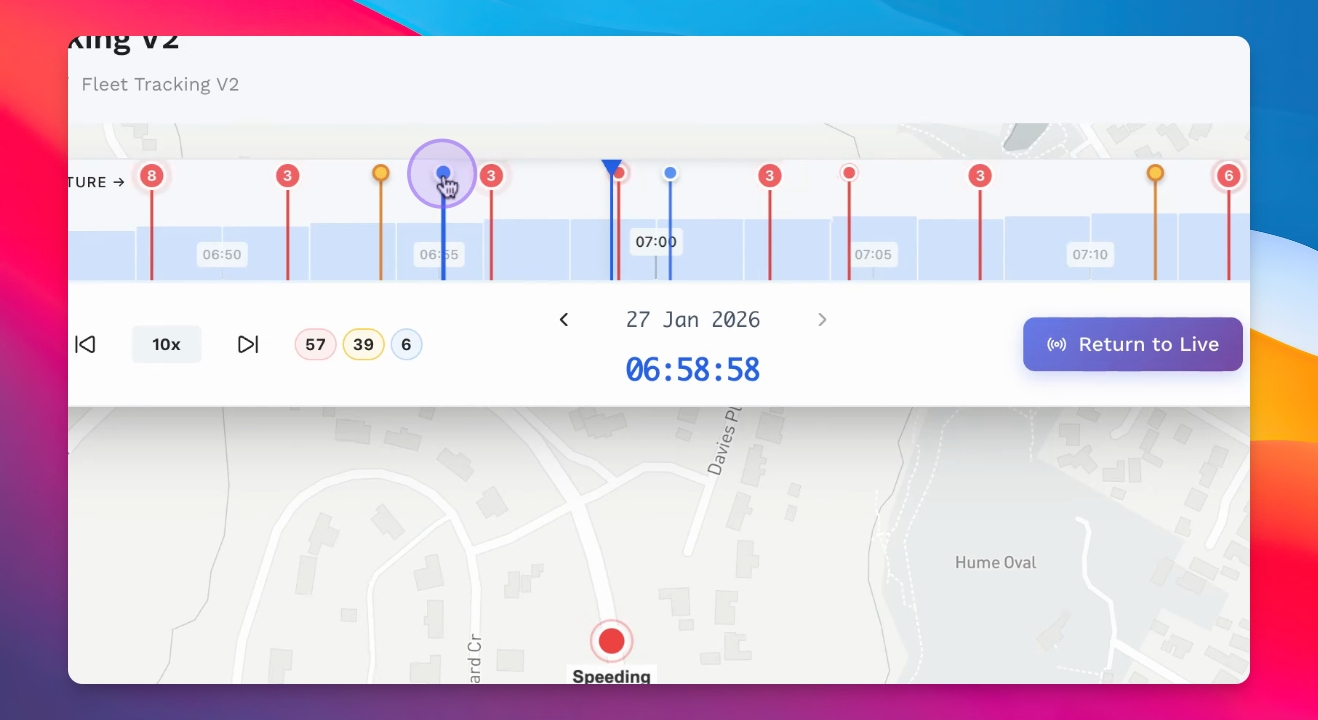
Step 7: Utilize History Timeline
Scrub through the History Timeline to view past operational statuses and events.
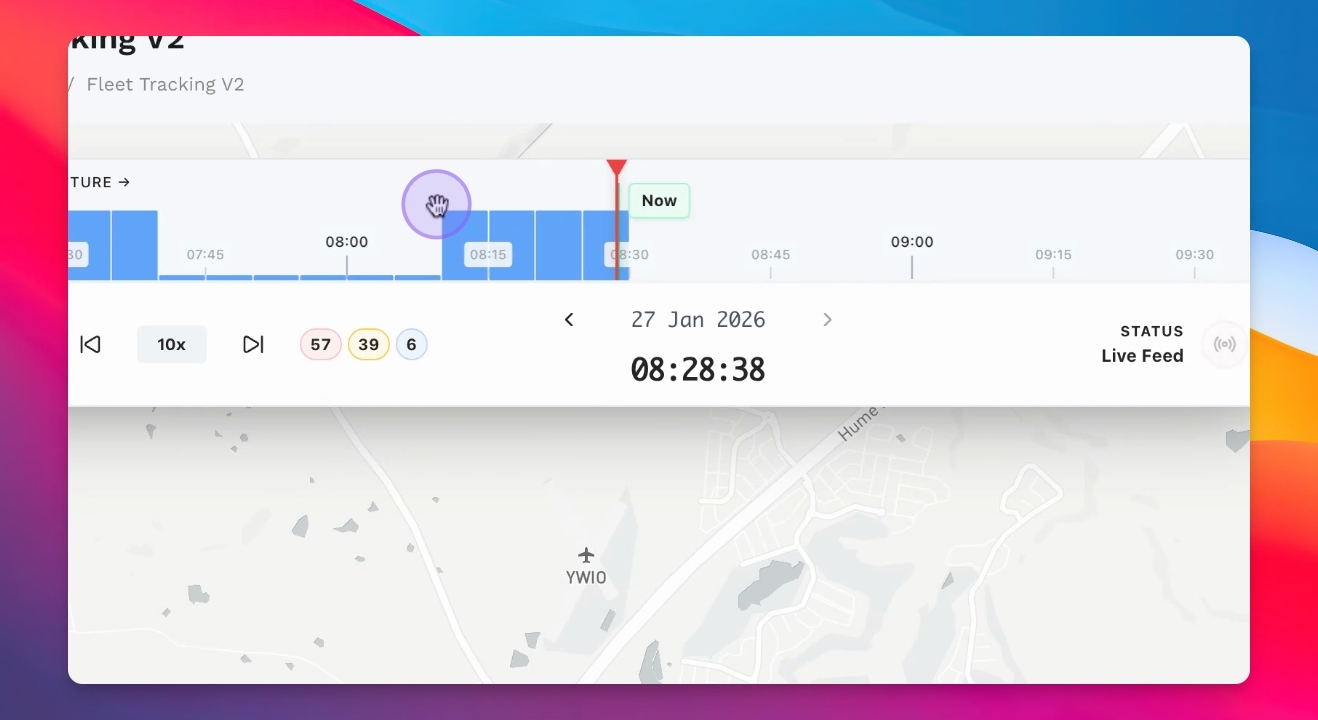
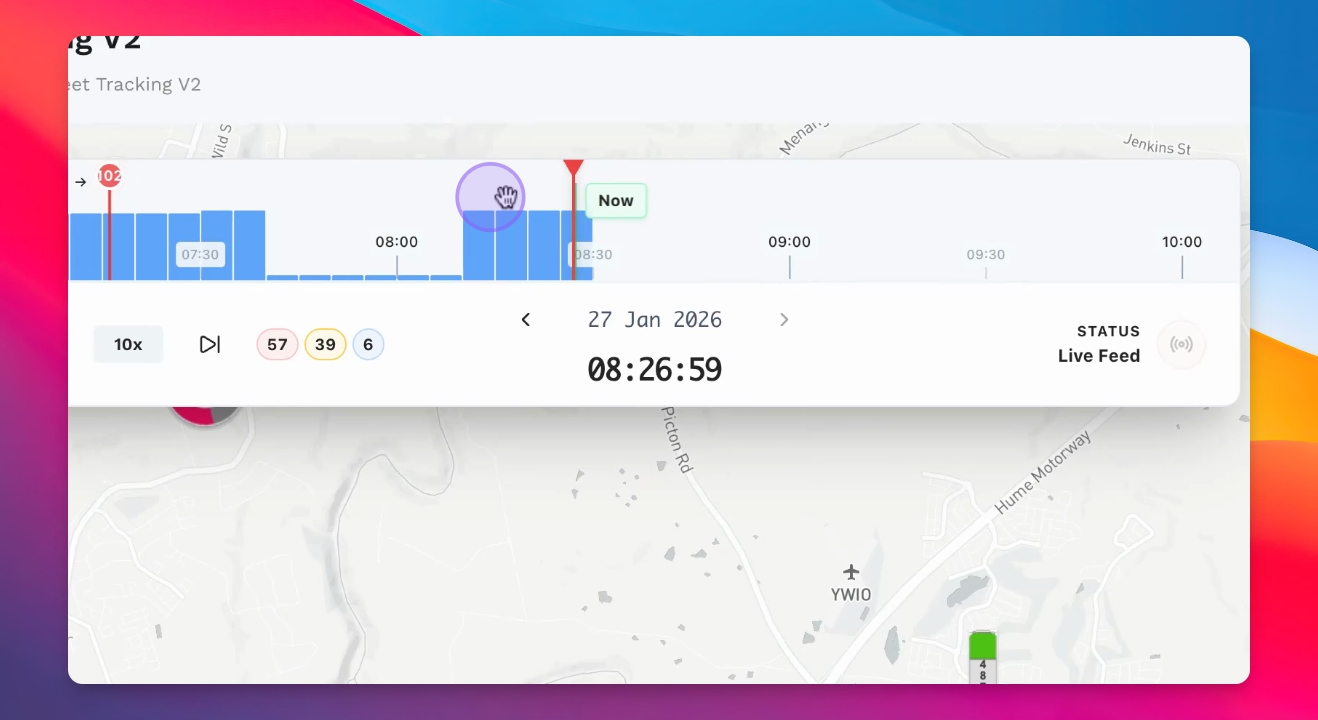
Step 8: Playback History
Use playback options to view historical events at different speeds along the timeline.
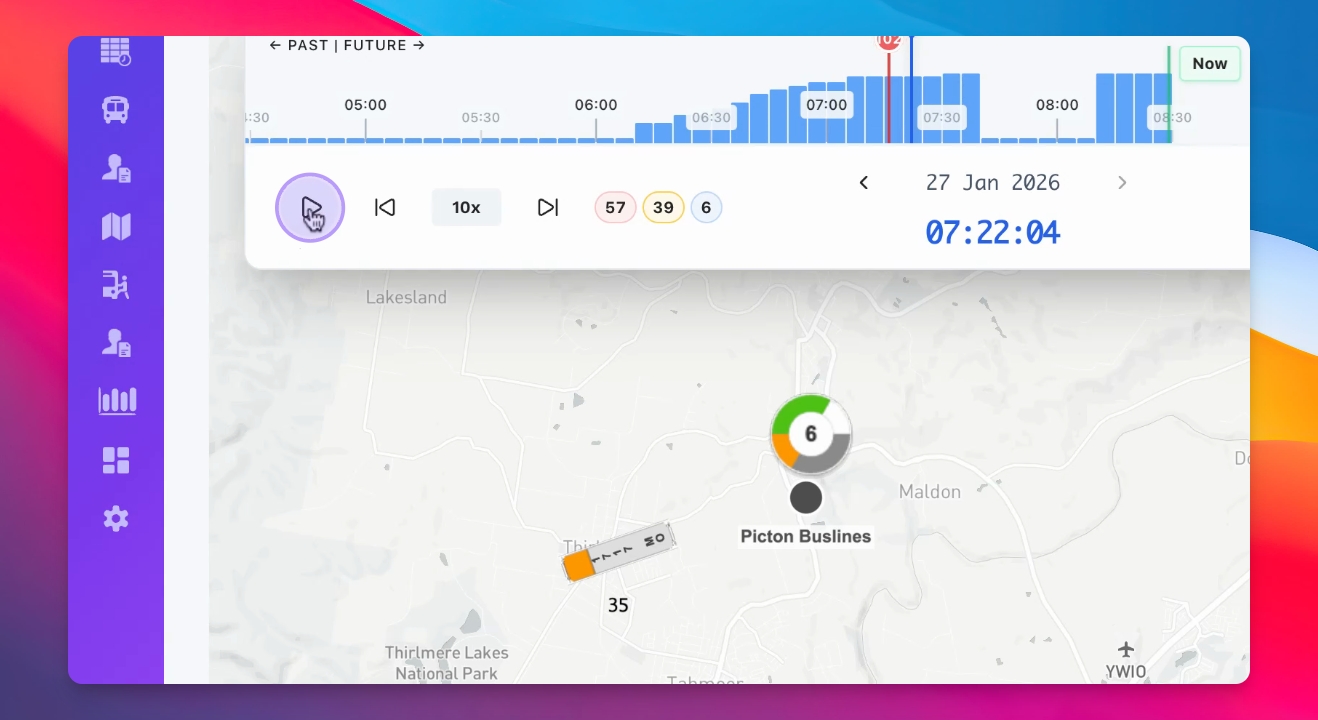
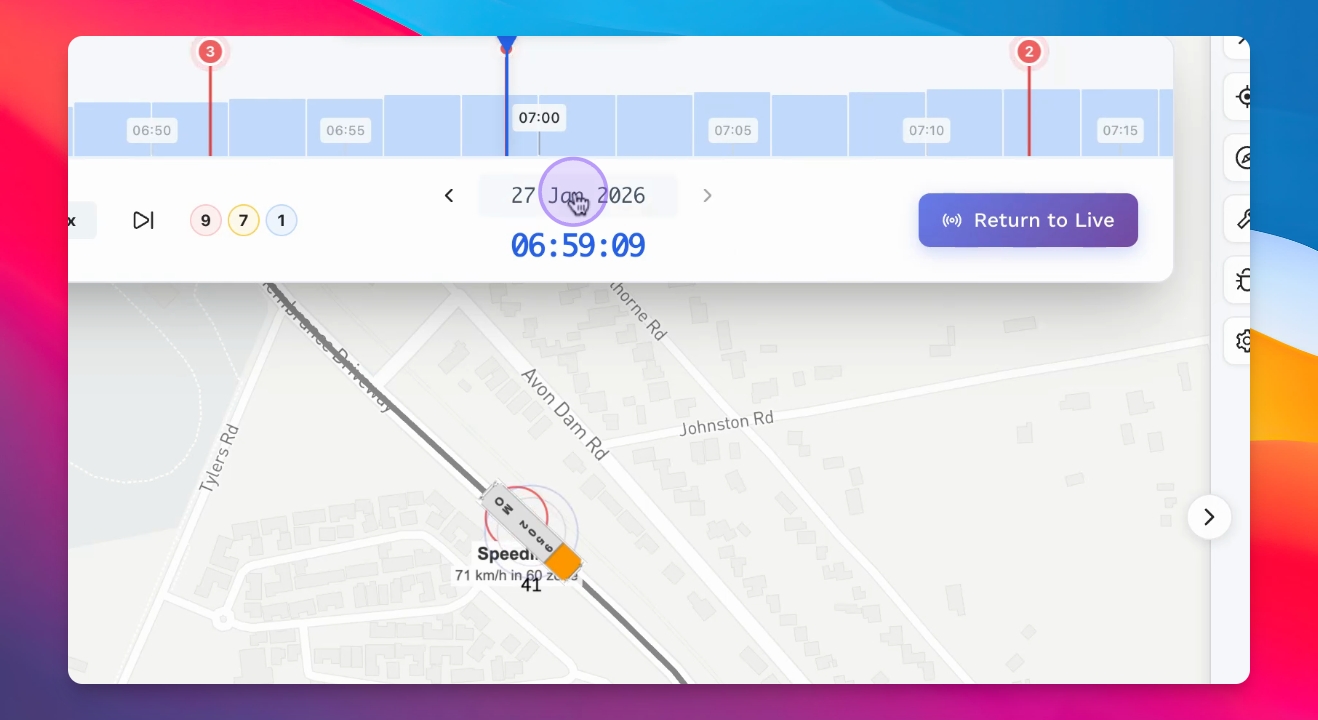
Step 9: View Events on Map
Click on events within the timeline to see their corresponding occurrences on the map.
Step 10: Monitor Network Events
Deselect the vehicle to view all events across your network, including speeding incidents.
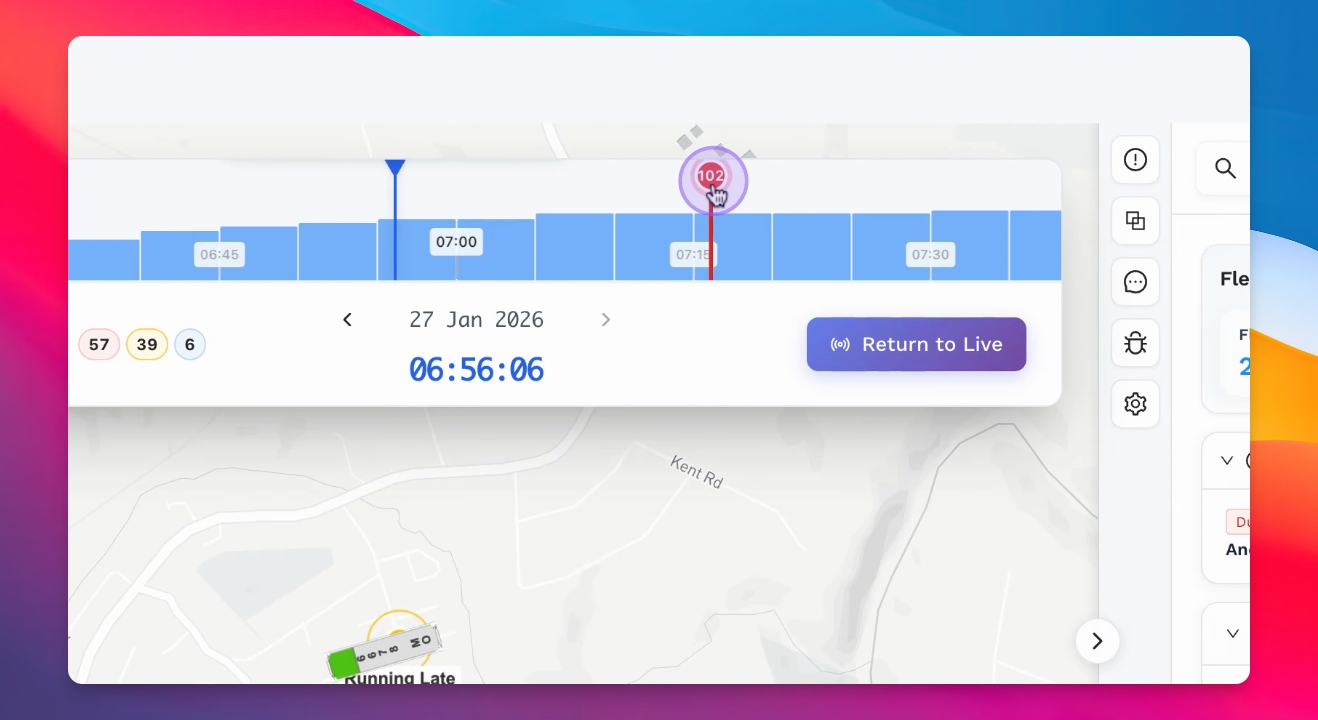
Step 11: Navigate to History
Click on a date to return to any historical point or choose 'Return to Live' to resume live tracking.
Step 12: Log Incidents
Log incidents on the map, capturing timestamp and location details for each event.
Step 13: Add Road Restrictions
Implement road restrictions to reroute bus navigation around obstacles.
Step 14: Broadcast Messages
Send voice-activated broadcast messages to selected drivers directly from the control panel.

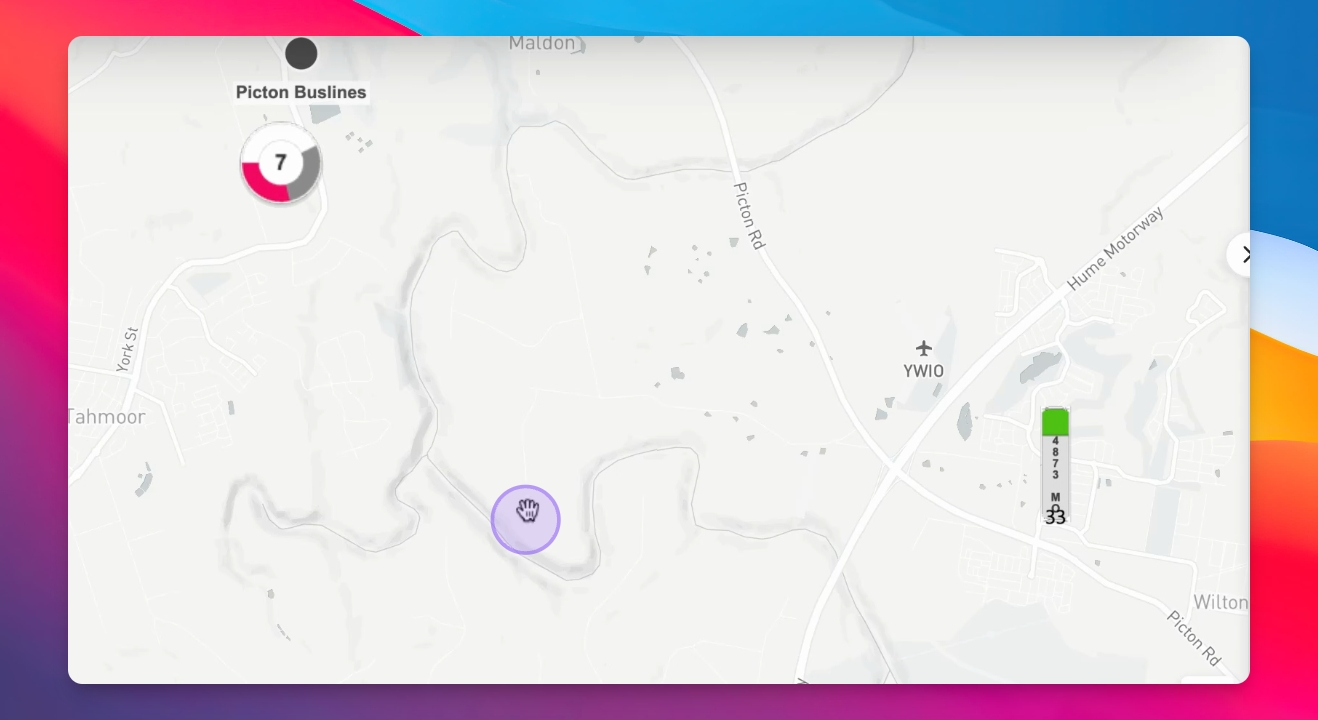
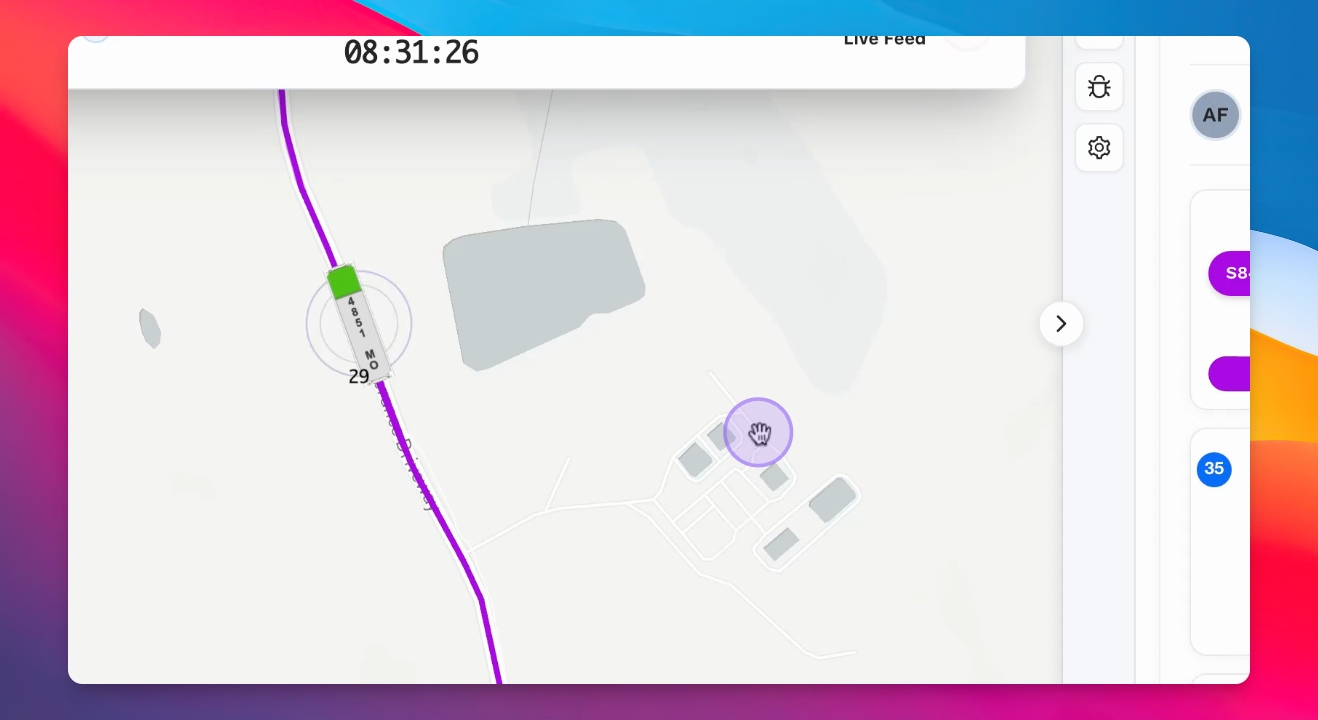
Step 15: Track Vehicles
Focus on vehicles on the map to monitor their location and progress.
Step 16: Log Maintenance
Register maintenance issues for vehicles to ensure operational efficiency.
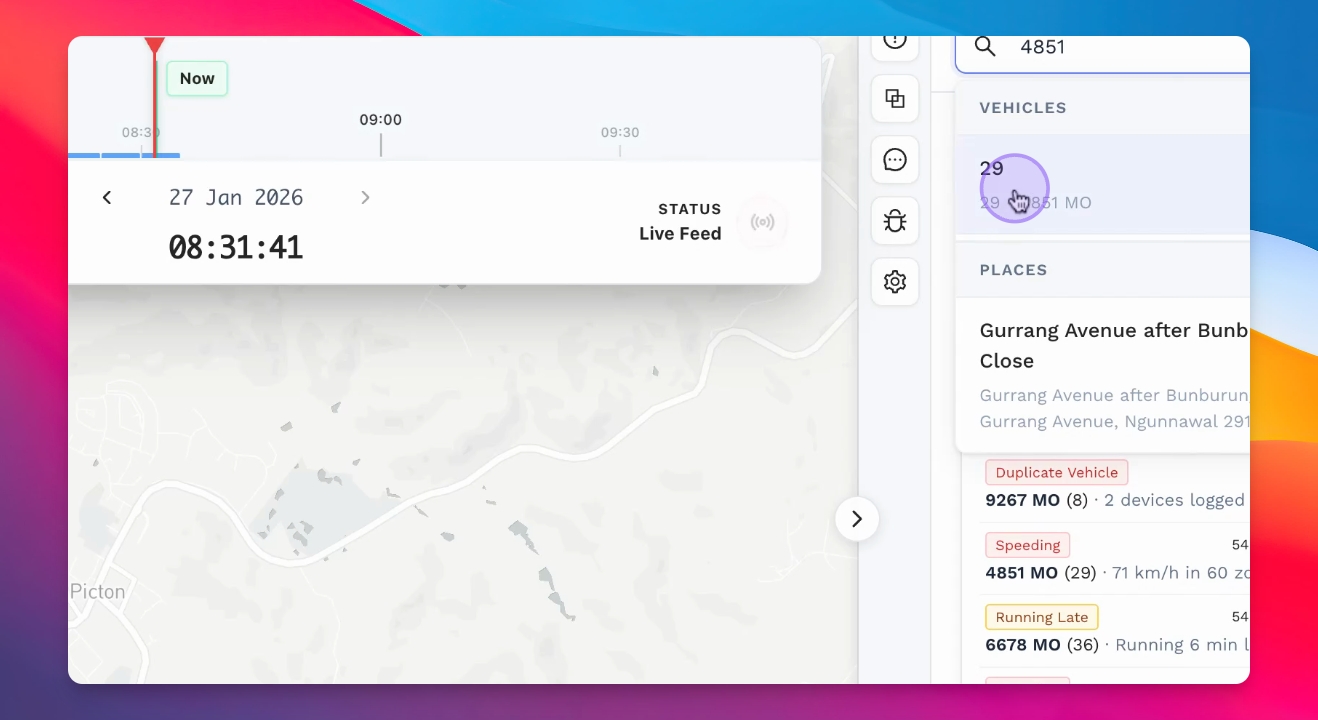
Step 17: Use Search Function
Utilize the search feature to find vehicles, routes, services, or locations on the map.