Let's do it together!
Step 1: Open Allocations
Click on the **allocations** page to begin managing your weekly rosters.
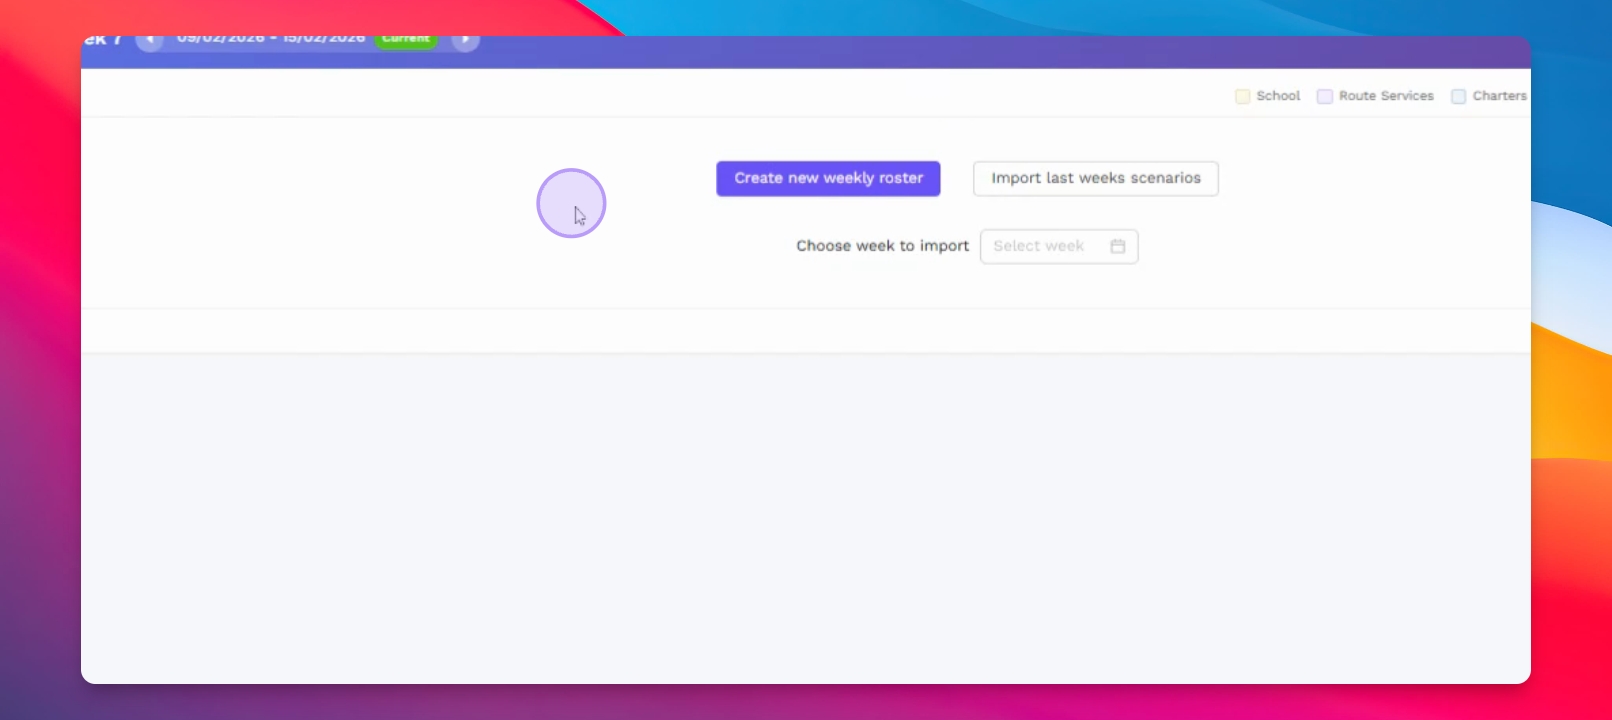
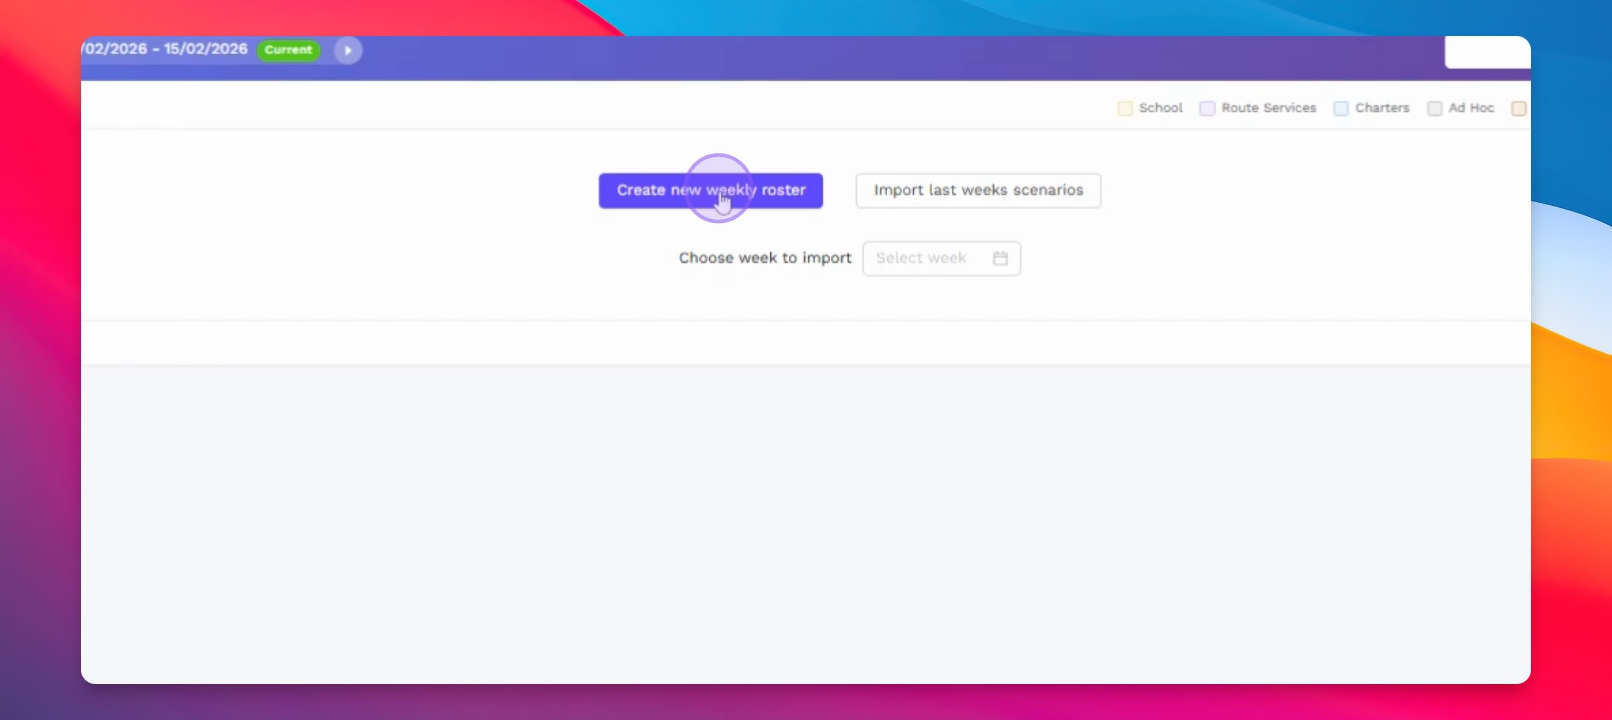
Step 2: Create Roster
Create a new weekly roster for the current week as prompted.
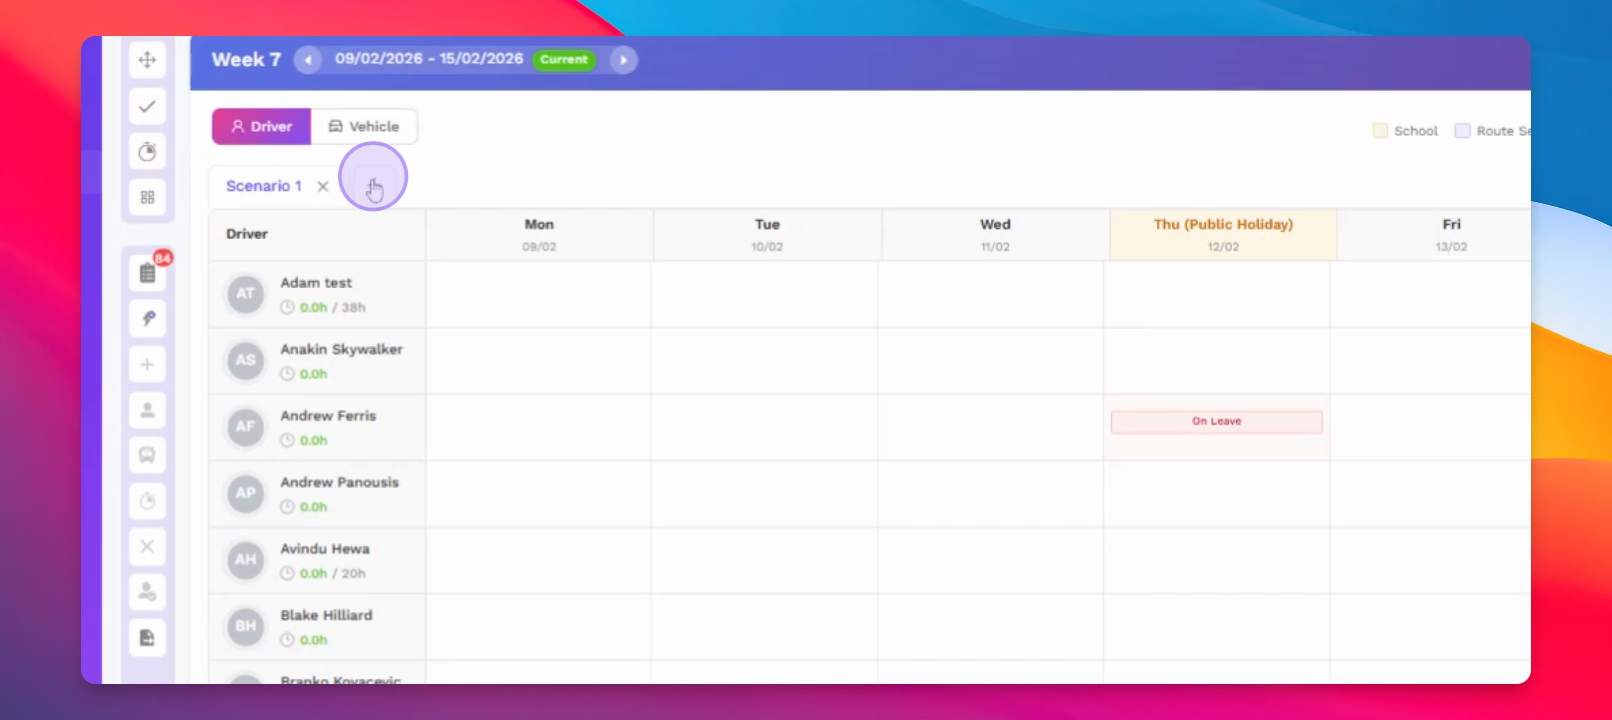
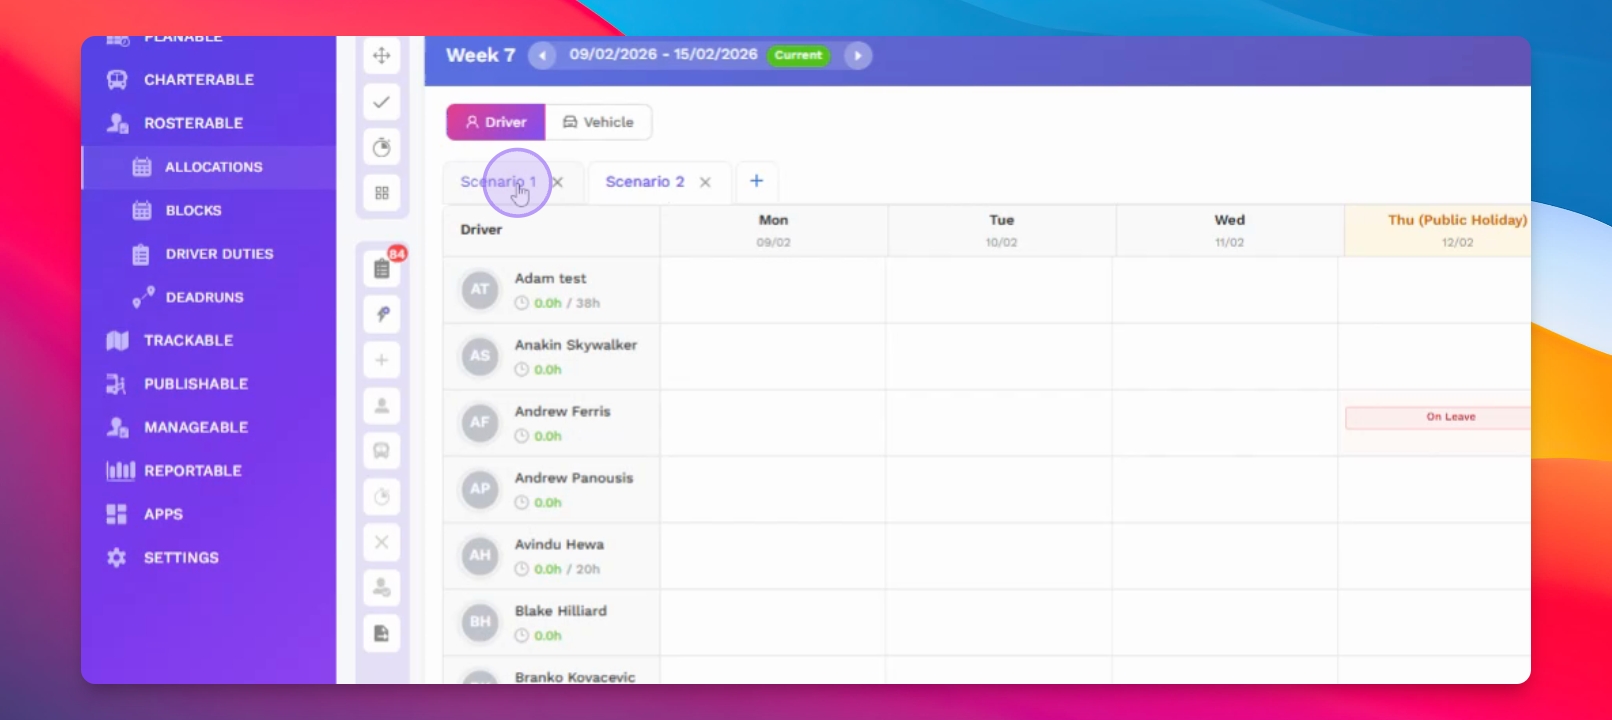
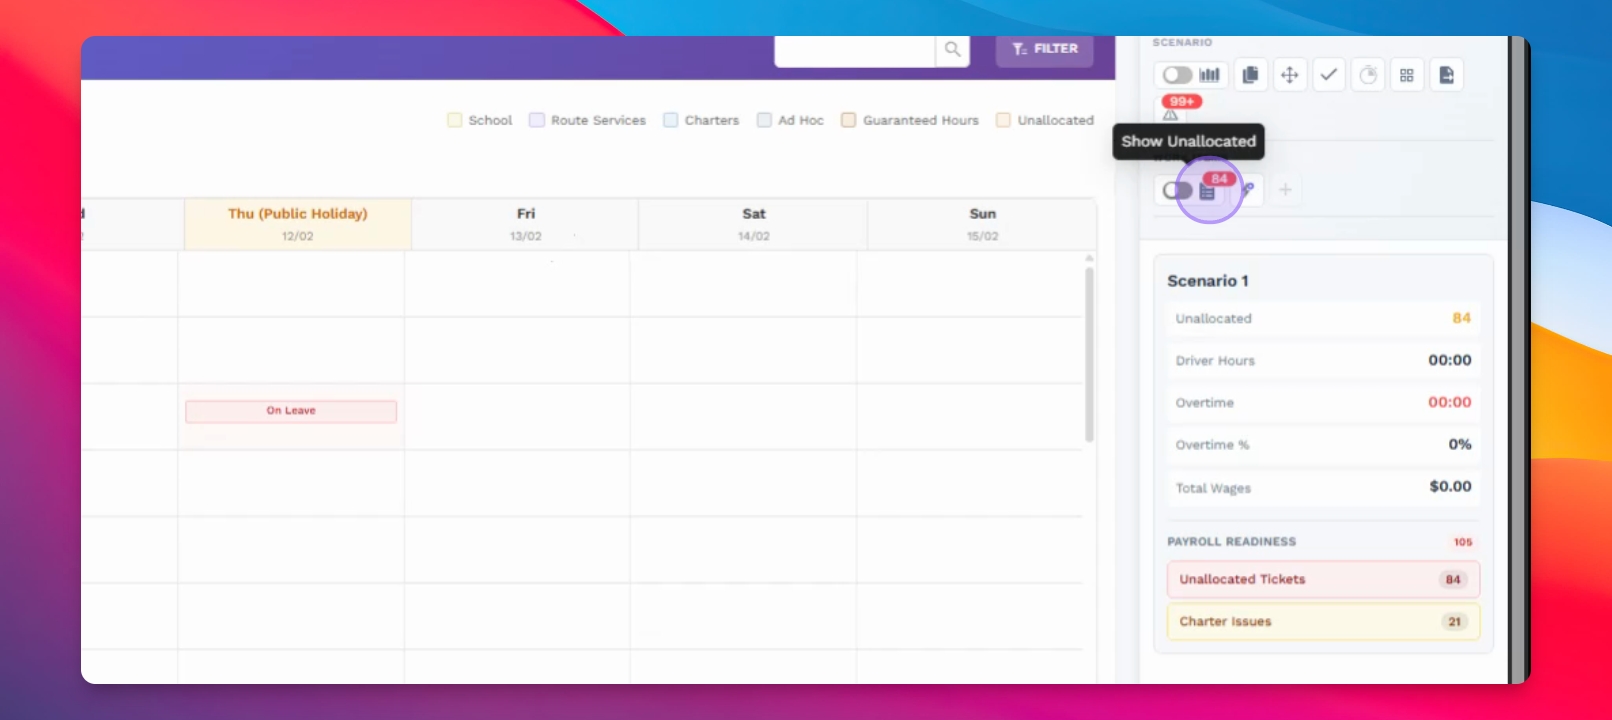
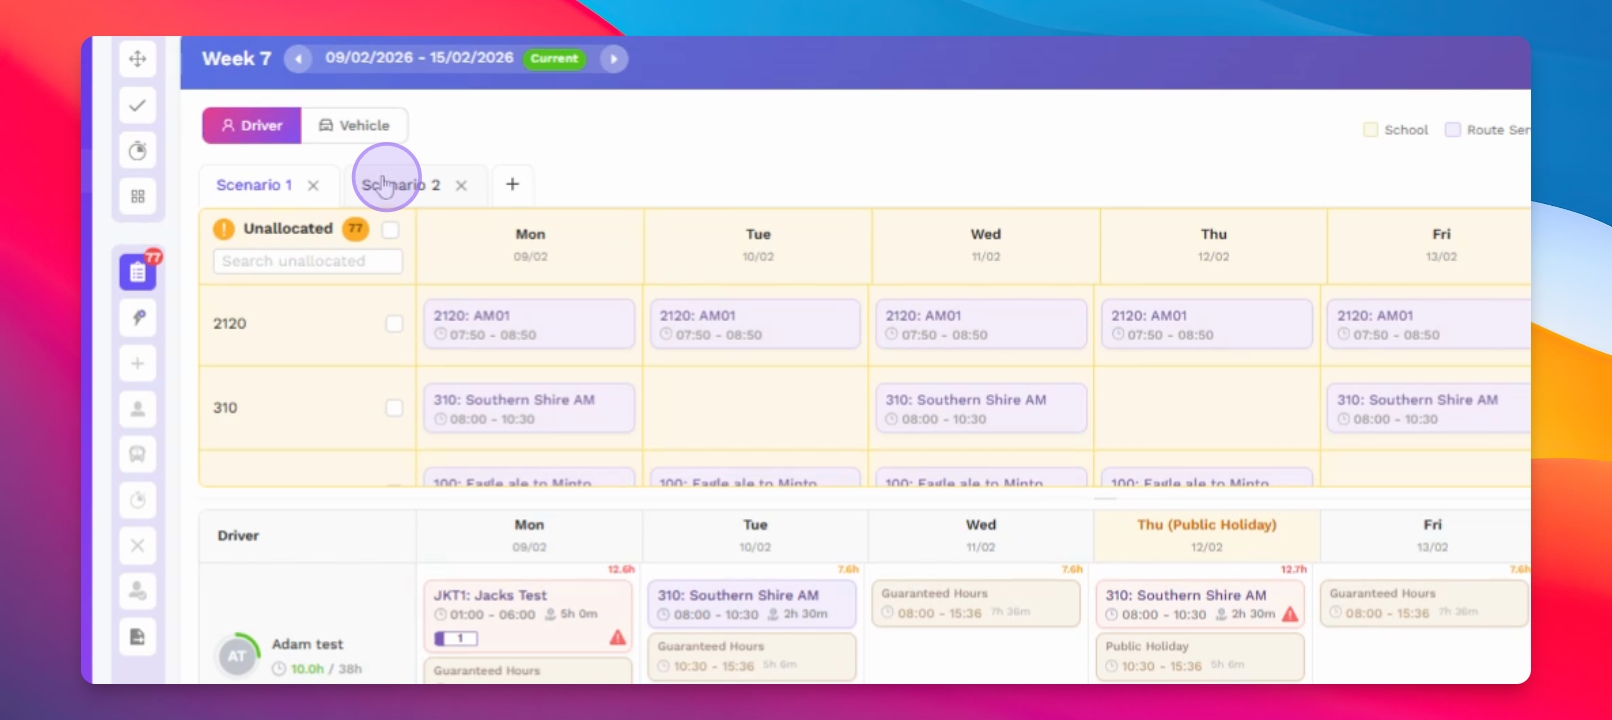
Step 3: Understand Scenarios
Review the **scenarios** feature that allows different ways to roster the week's work.
Step 4: Publish Scenario
Choose and publish the scenario you wish to use as the main one.
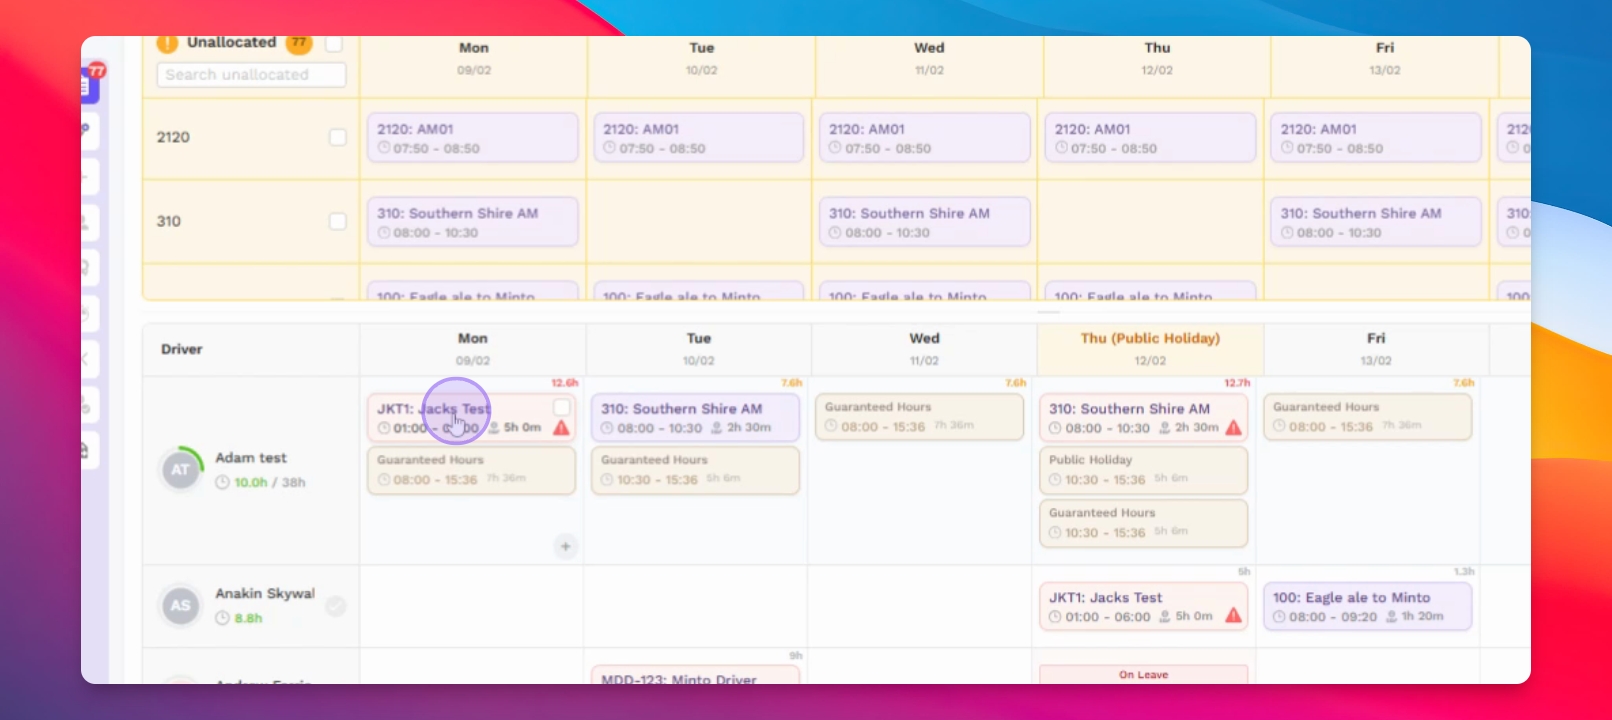
Step 5: View Drivers
Switch to **driver mode** to see a list of available drivers.
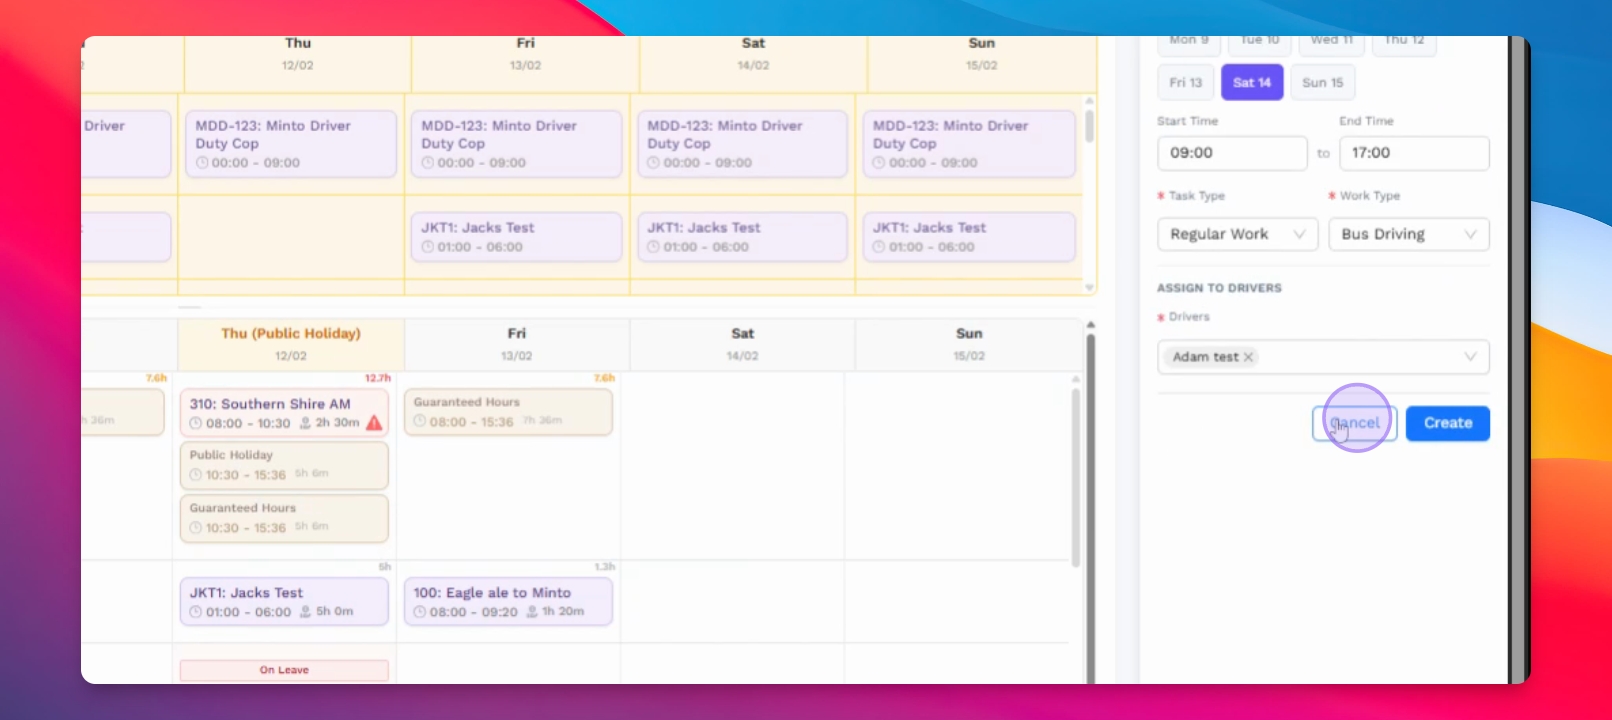
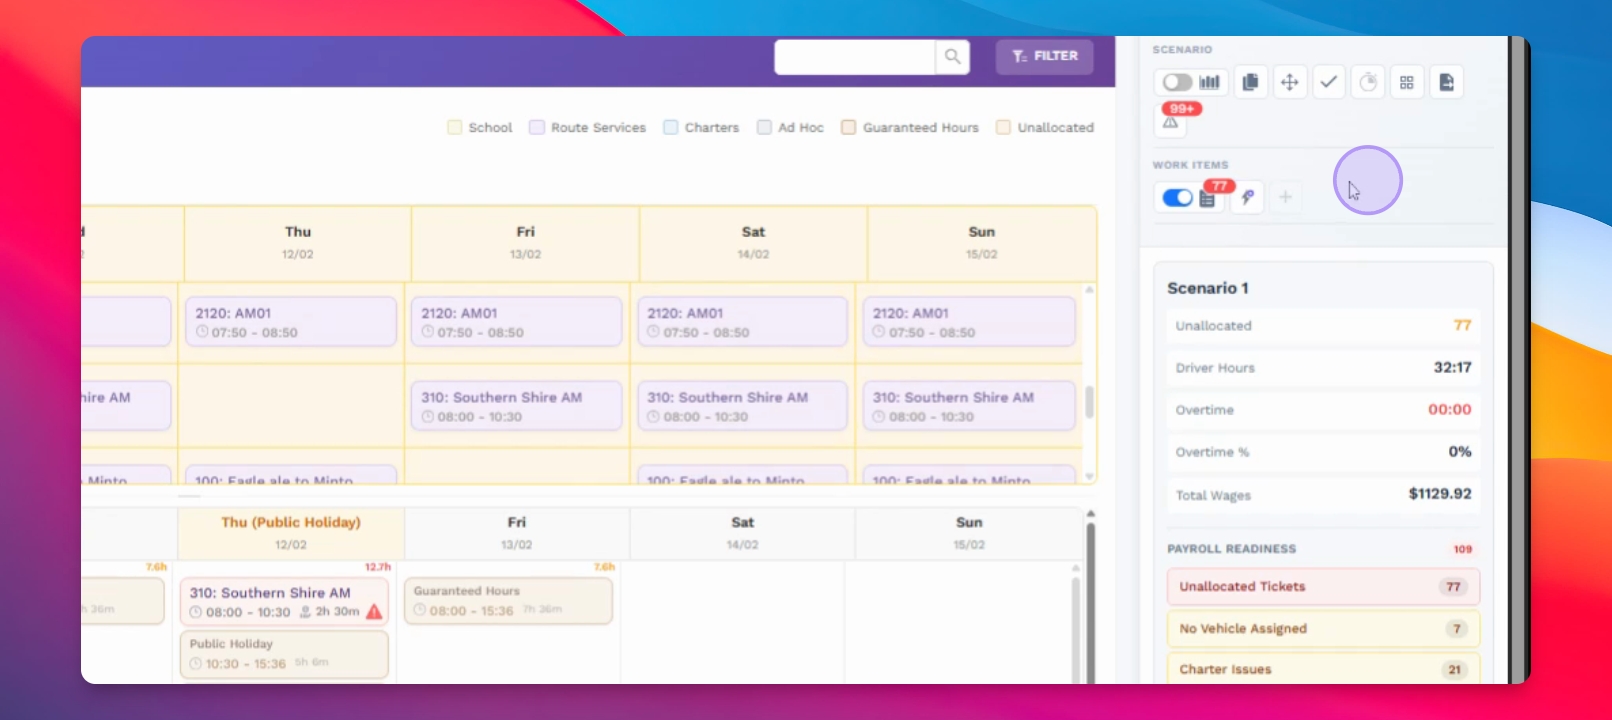
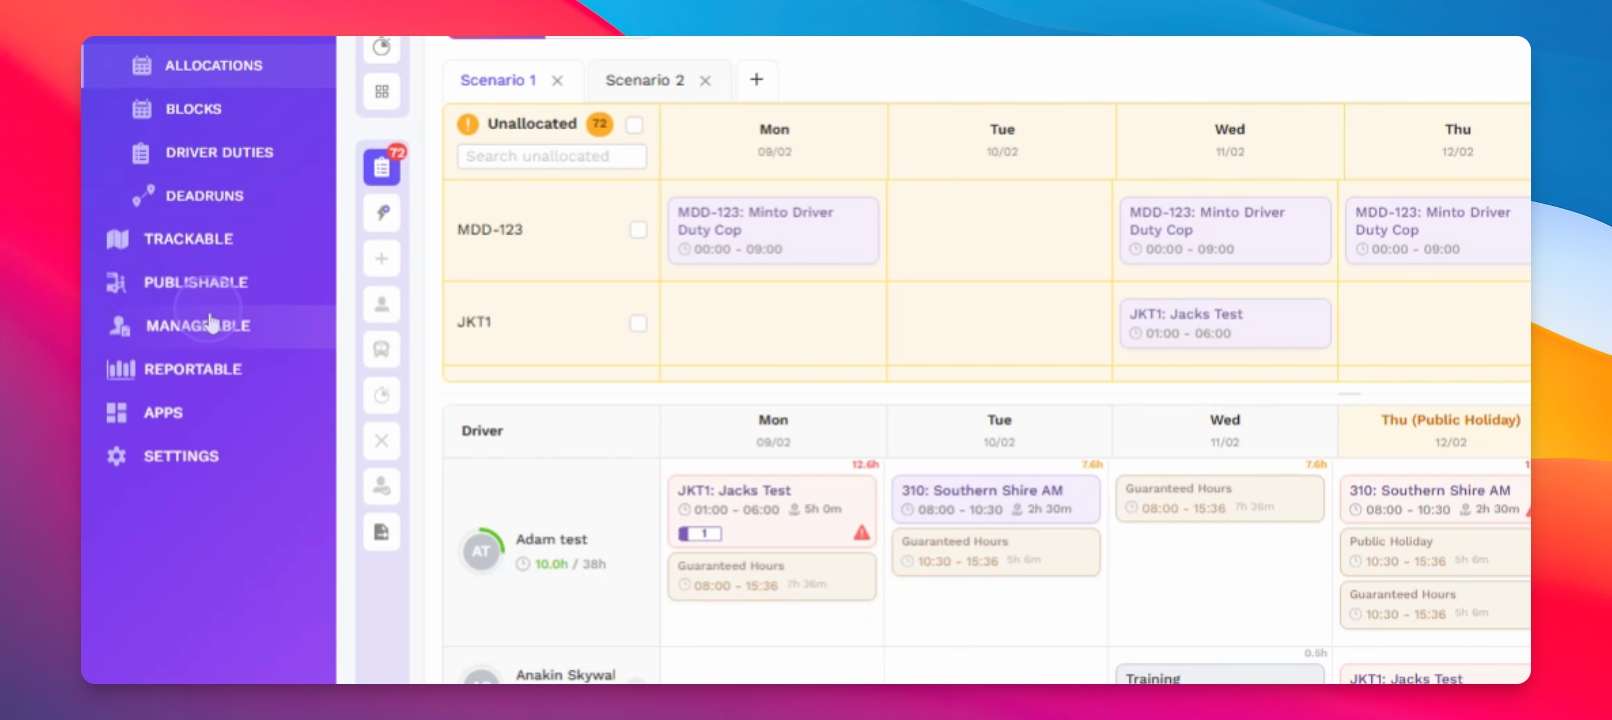
Step 6: Allocate Work Items
Click the toggle button to view **unallocated work items** and allocate them to the respective drivers.
Step 7: Monitor Guaranteed Hours
Keep track of each driver's guaranteed hours as you allocate work items.
Step 8: Identify Overtime
Recognize when work allocated exceeds guaranteed hours, which will be classified as overtime.
Step 9: Handle Public Holidays
Be aware that assigning work on public holidays will trigger a validation warning.

Step 10: Manage Leave
View drivers on leave to avoid allocating work accidentally.
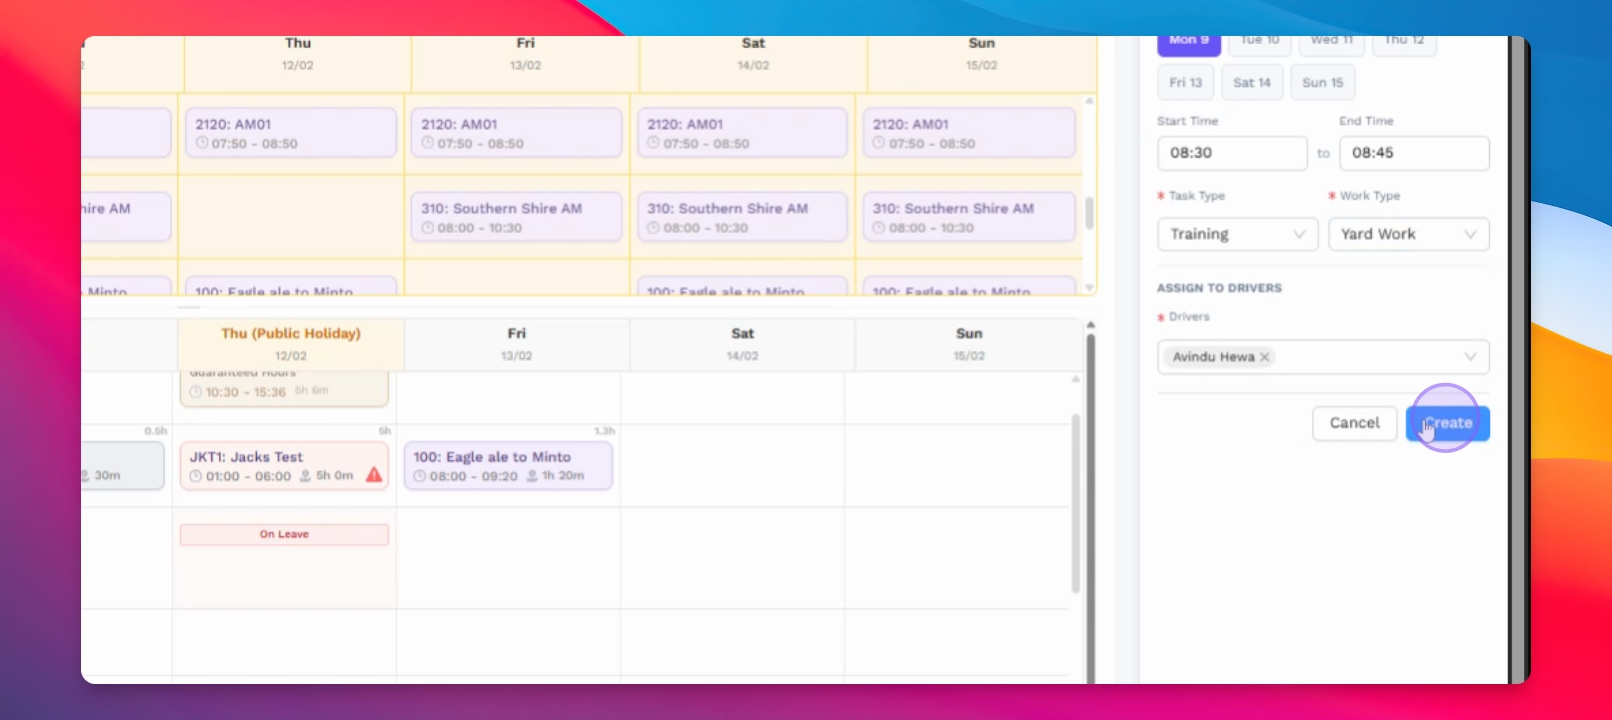
Step 11: Create Ad Hoc Work
Create ad hoc work items as needed, such as training sessions for drivers.
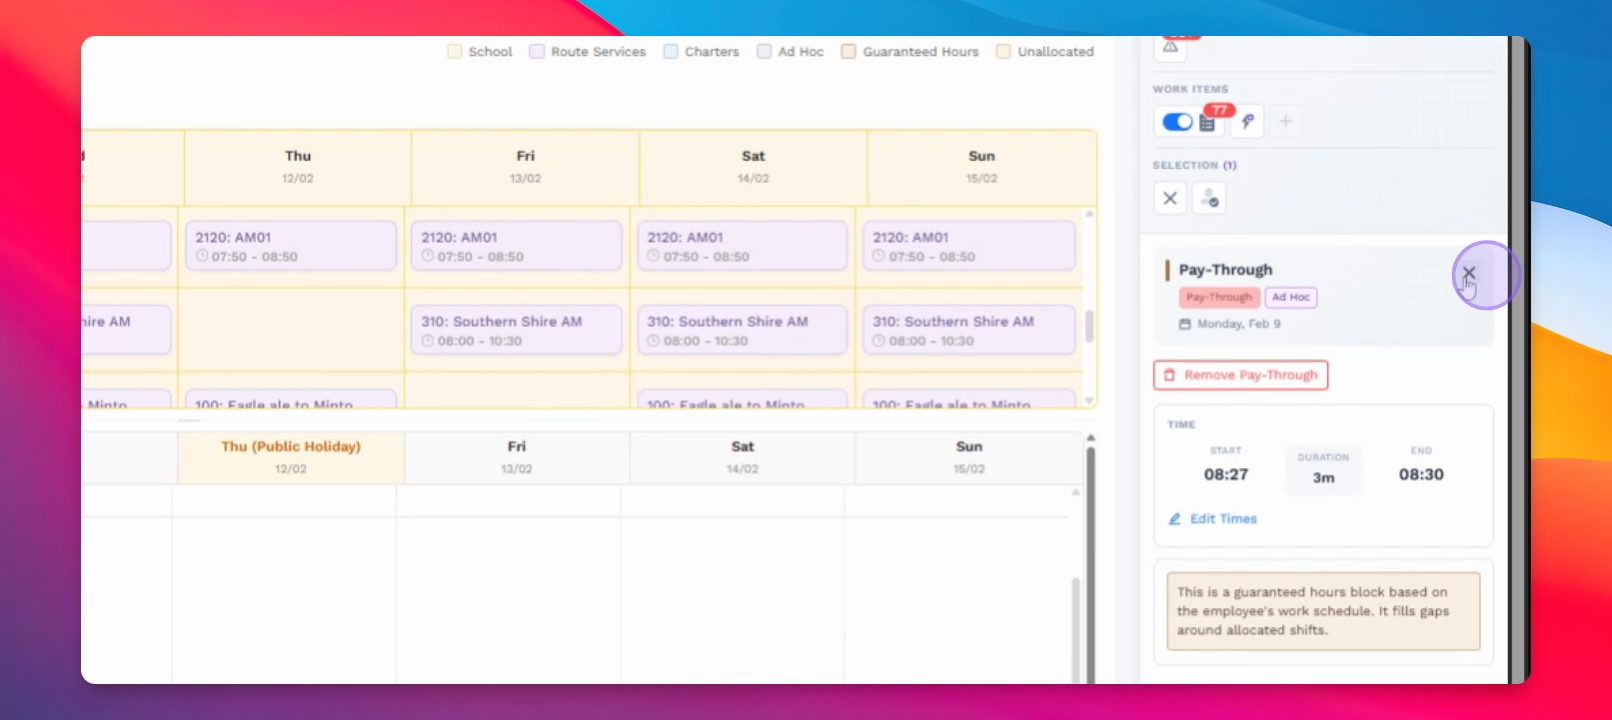
Step 12: Configure Pay Through
Set up pay through for casual employees to cover gaps between work items.
Step 13: Check Pay Readiness
Review **pay readiness** to ensure all payroll information is complete and correct.
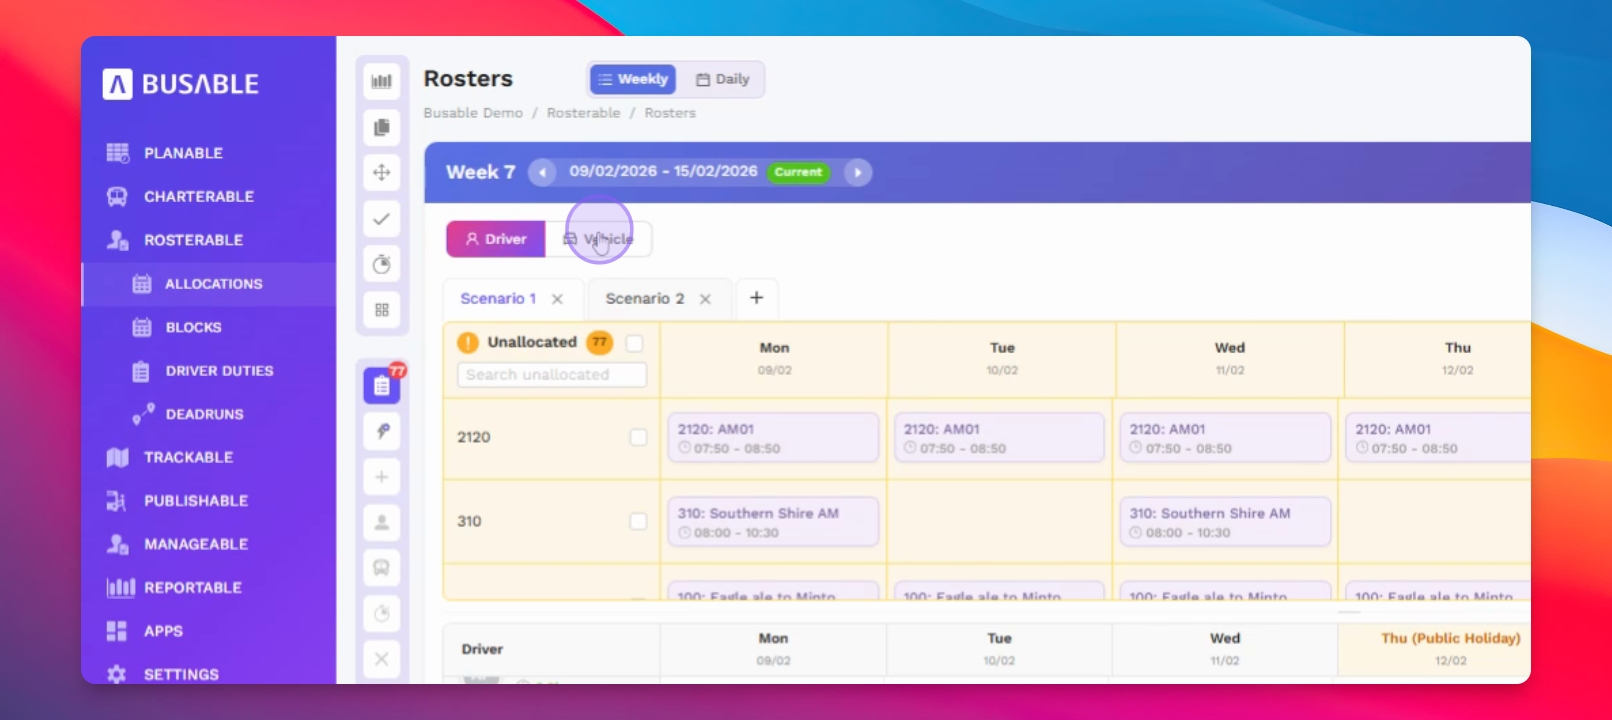
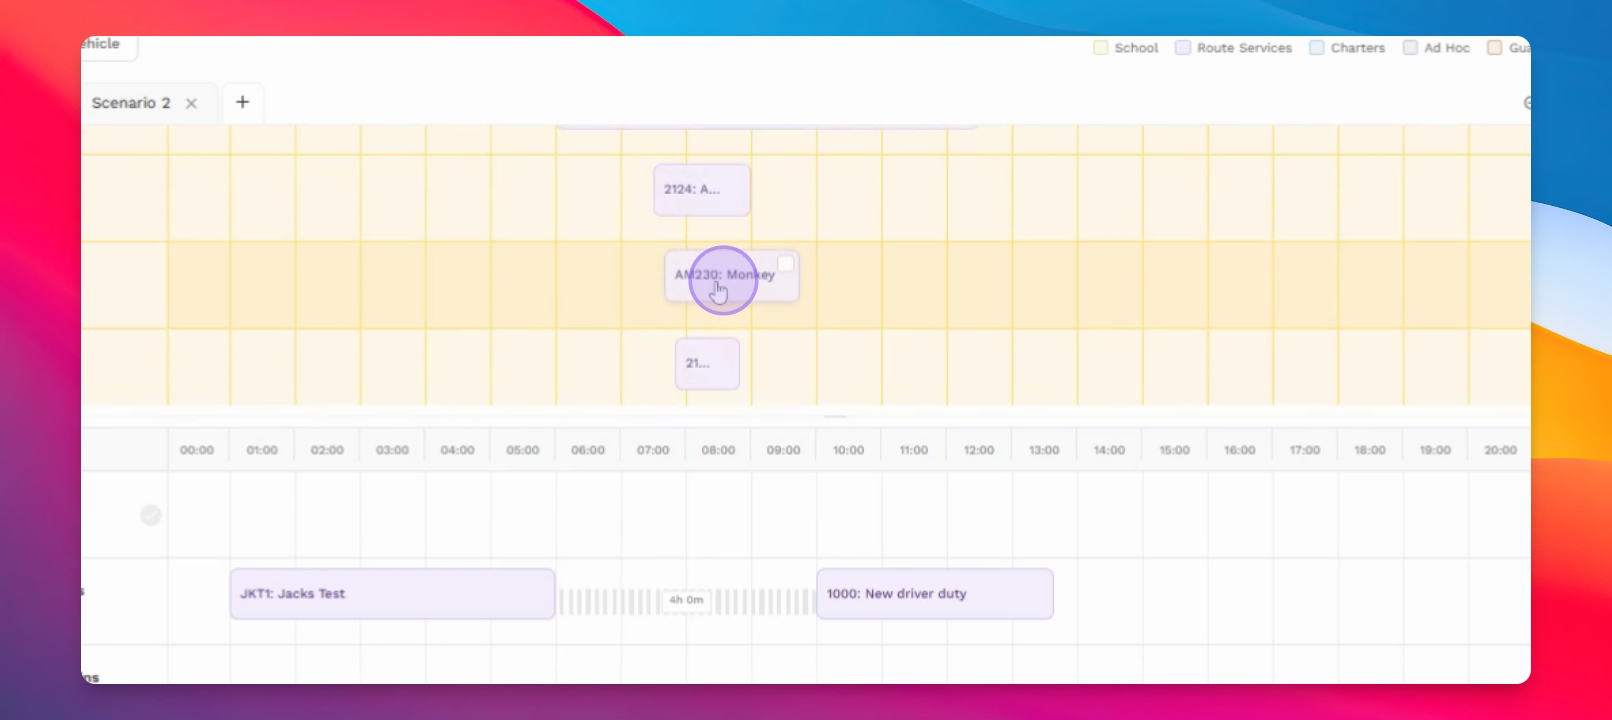
Step 14: Switch to Vehicle Mode
Change to vehicle mode to attach work items to drivers and vehicles.
Step 15: Attach Vehicles
Allocate vehicles to drivers by selecting the appropriate work items.

Step 16: Allocate Work Without Driver
Allocate work items even if a driver is not initially assigned.
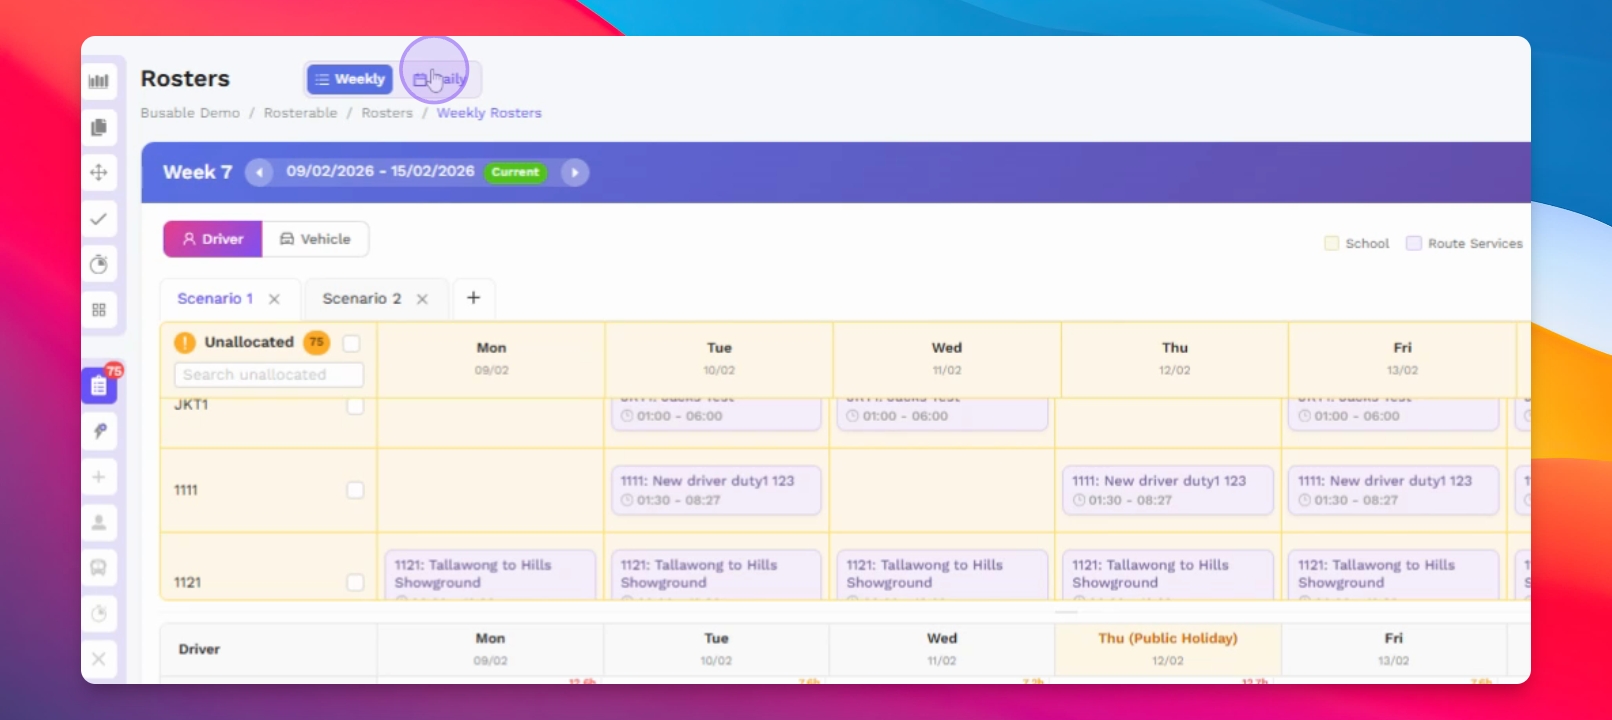
Step 17: Explore Daily View
Switch to daily view for a detailed allocation of jobs to drivers.
Step 18: Optimize Shifts
Optimize shifts by adding work items to fill gaps in schedules.
Step 19: Use Policy Builder
Access the policy builder to set and manage driver policies and rates.
Step 20: Integrate with Xero
If integrated with Xero, export timesheets directly or as CSV files.
