Bookings
Creating Simple One-Way Charters in Booking System
Learn how to create charters within your booking system by following a detailed step-by-step guide that covers everything from adding the initial pickup point to finalizing the charter details.
Updated 1 month ago
Introduction
Creating charters in our booking system is a straightforward process. In this tutorial, we will guide you through each step, from clicking the Add Charter button to setting the final details of your charter. Whether you're scheduling a simple one-way trip or managing multiple stops, this guide will ensure you have all the necessary information to create your charter successfully.
How to Instructions
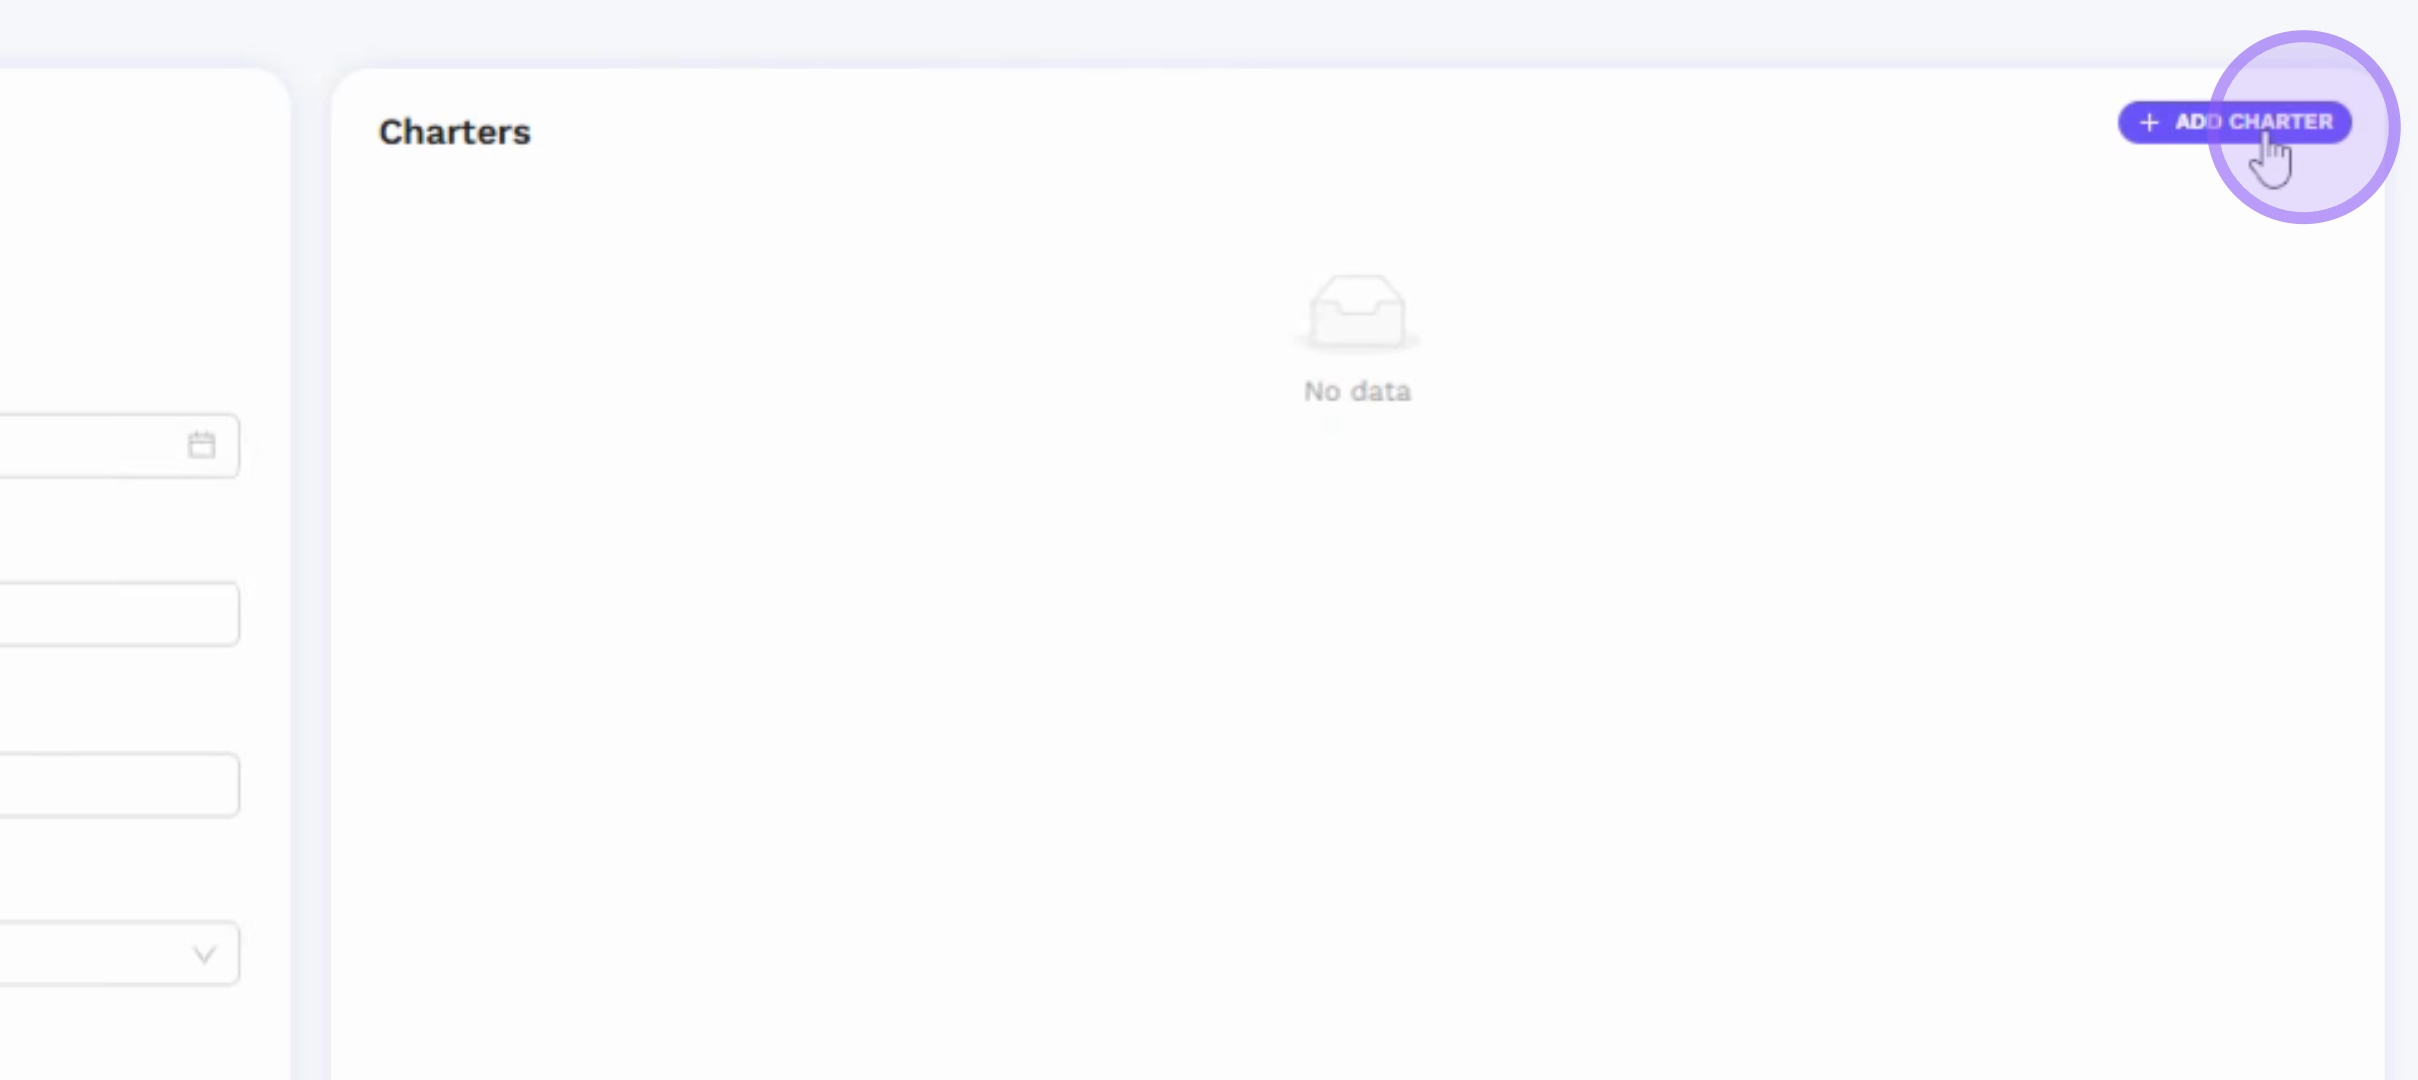
1. Adding a Charter
Start by clicking on the Add Charter button. This action will redirect you to the itinerary builder page.
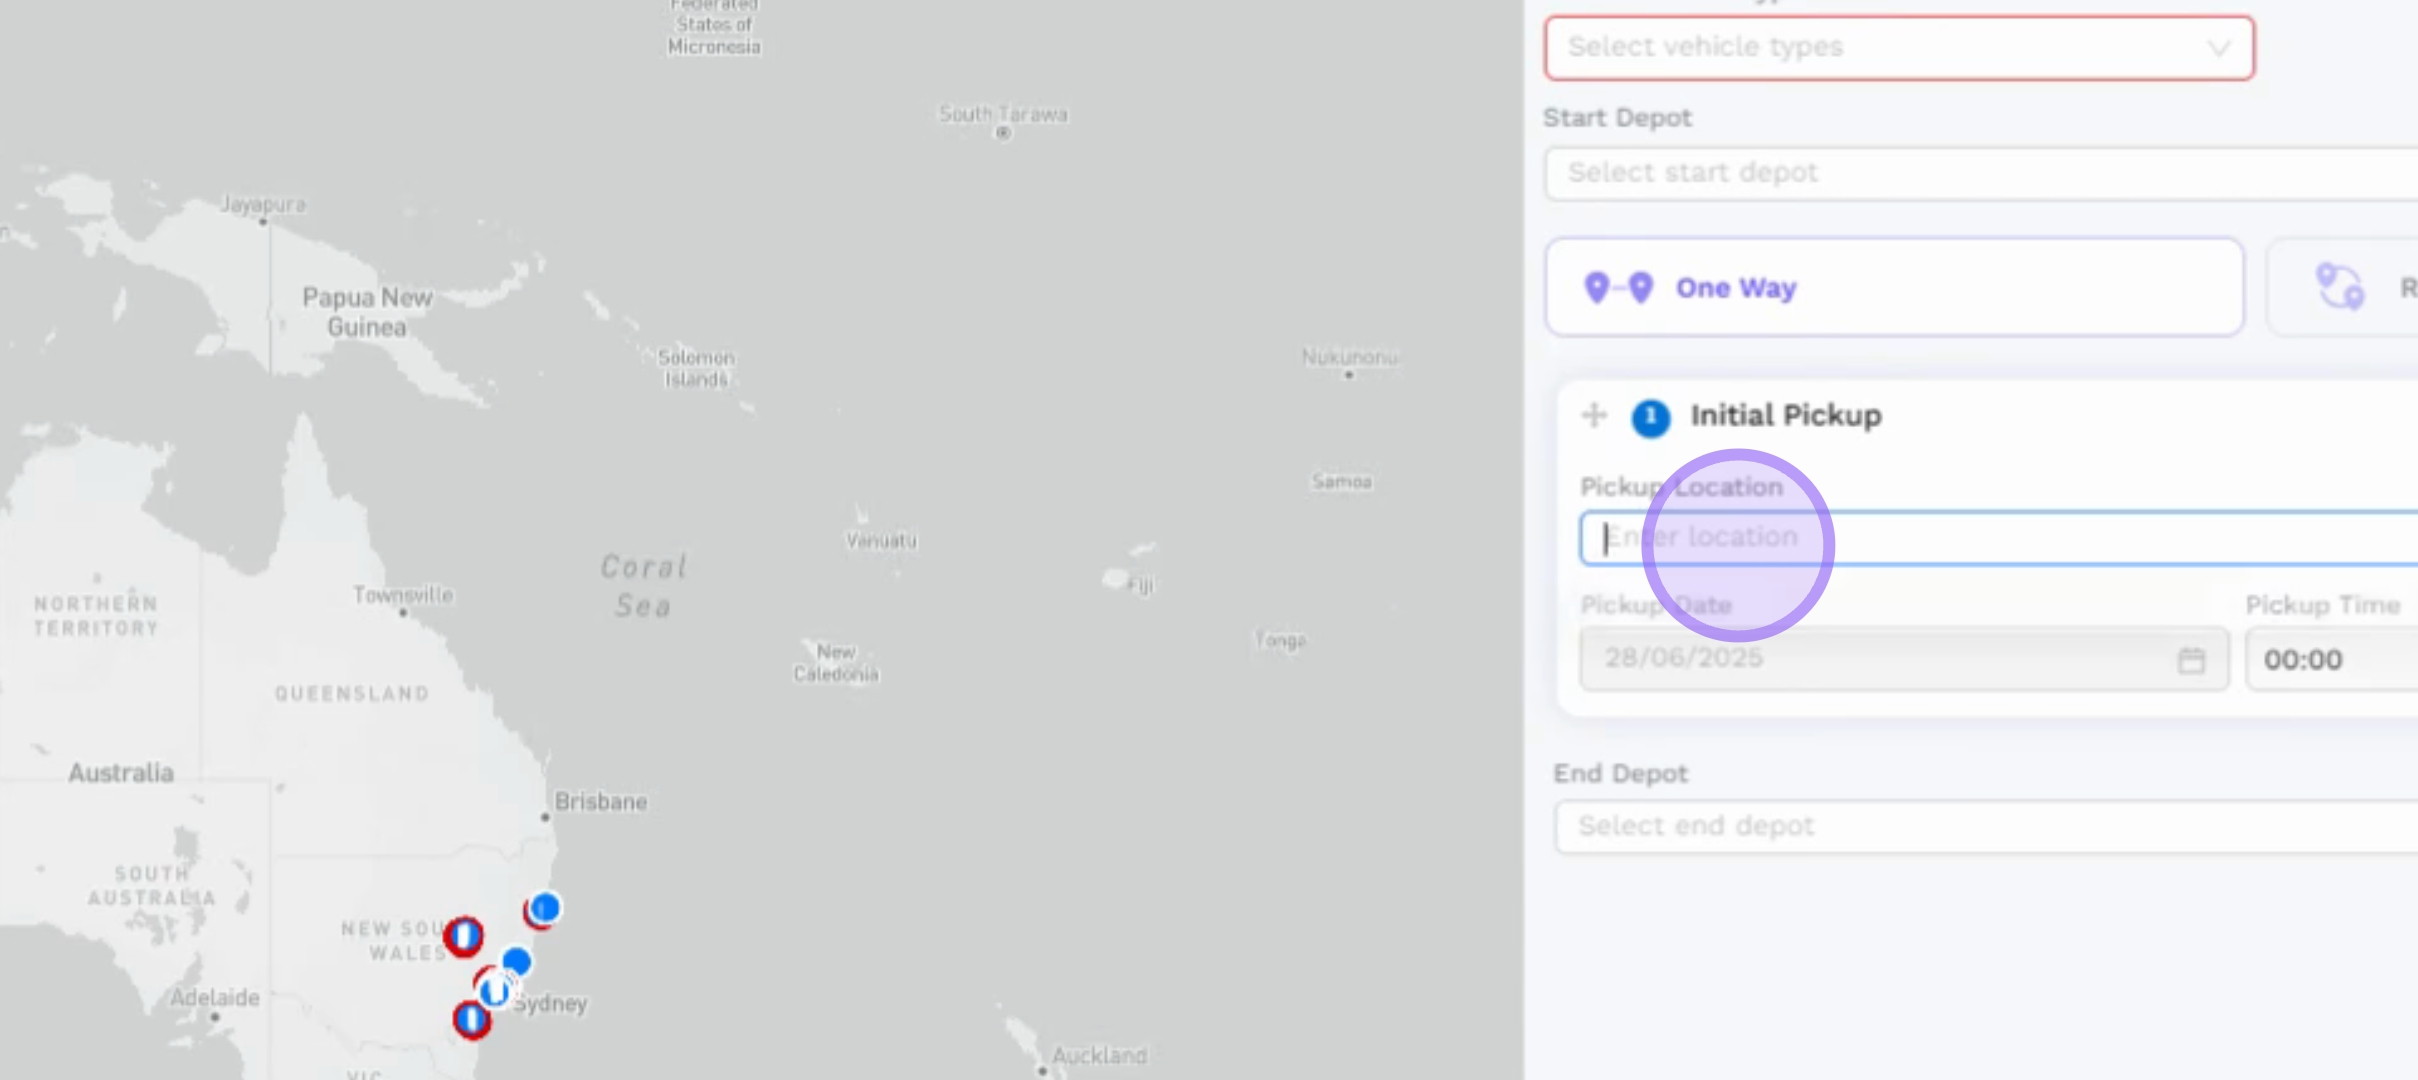
2. Setting the Initial Pickup Point
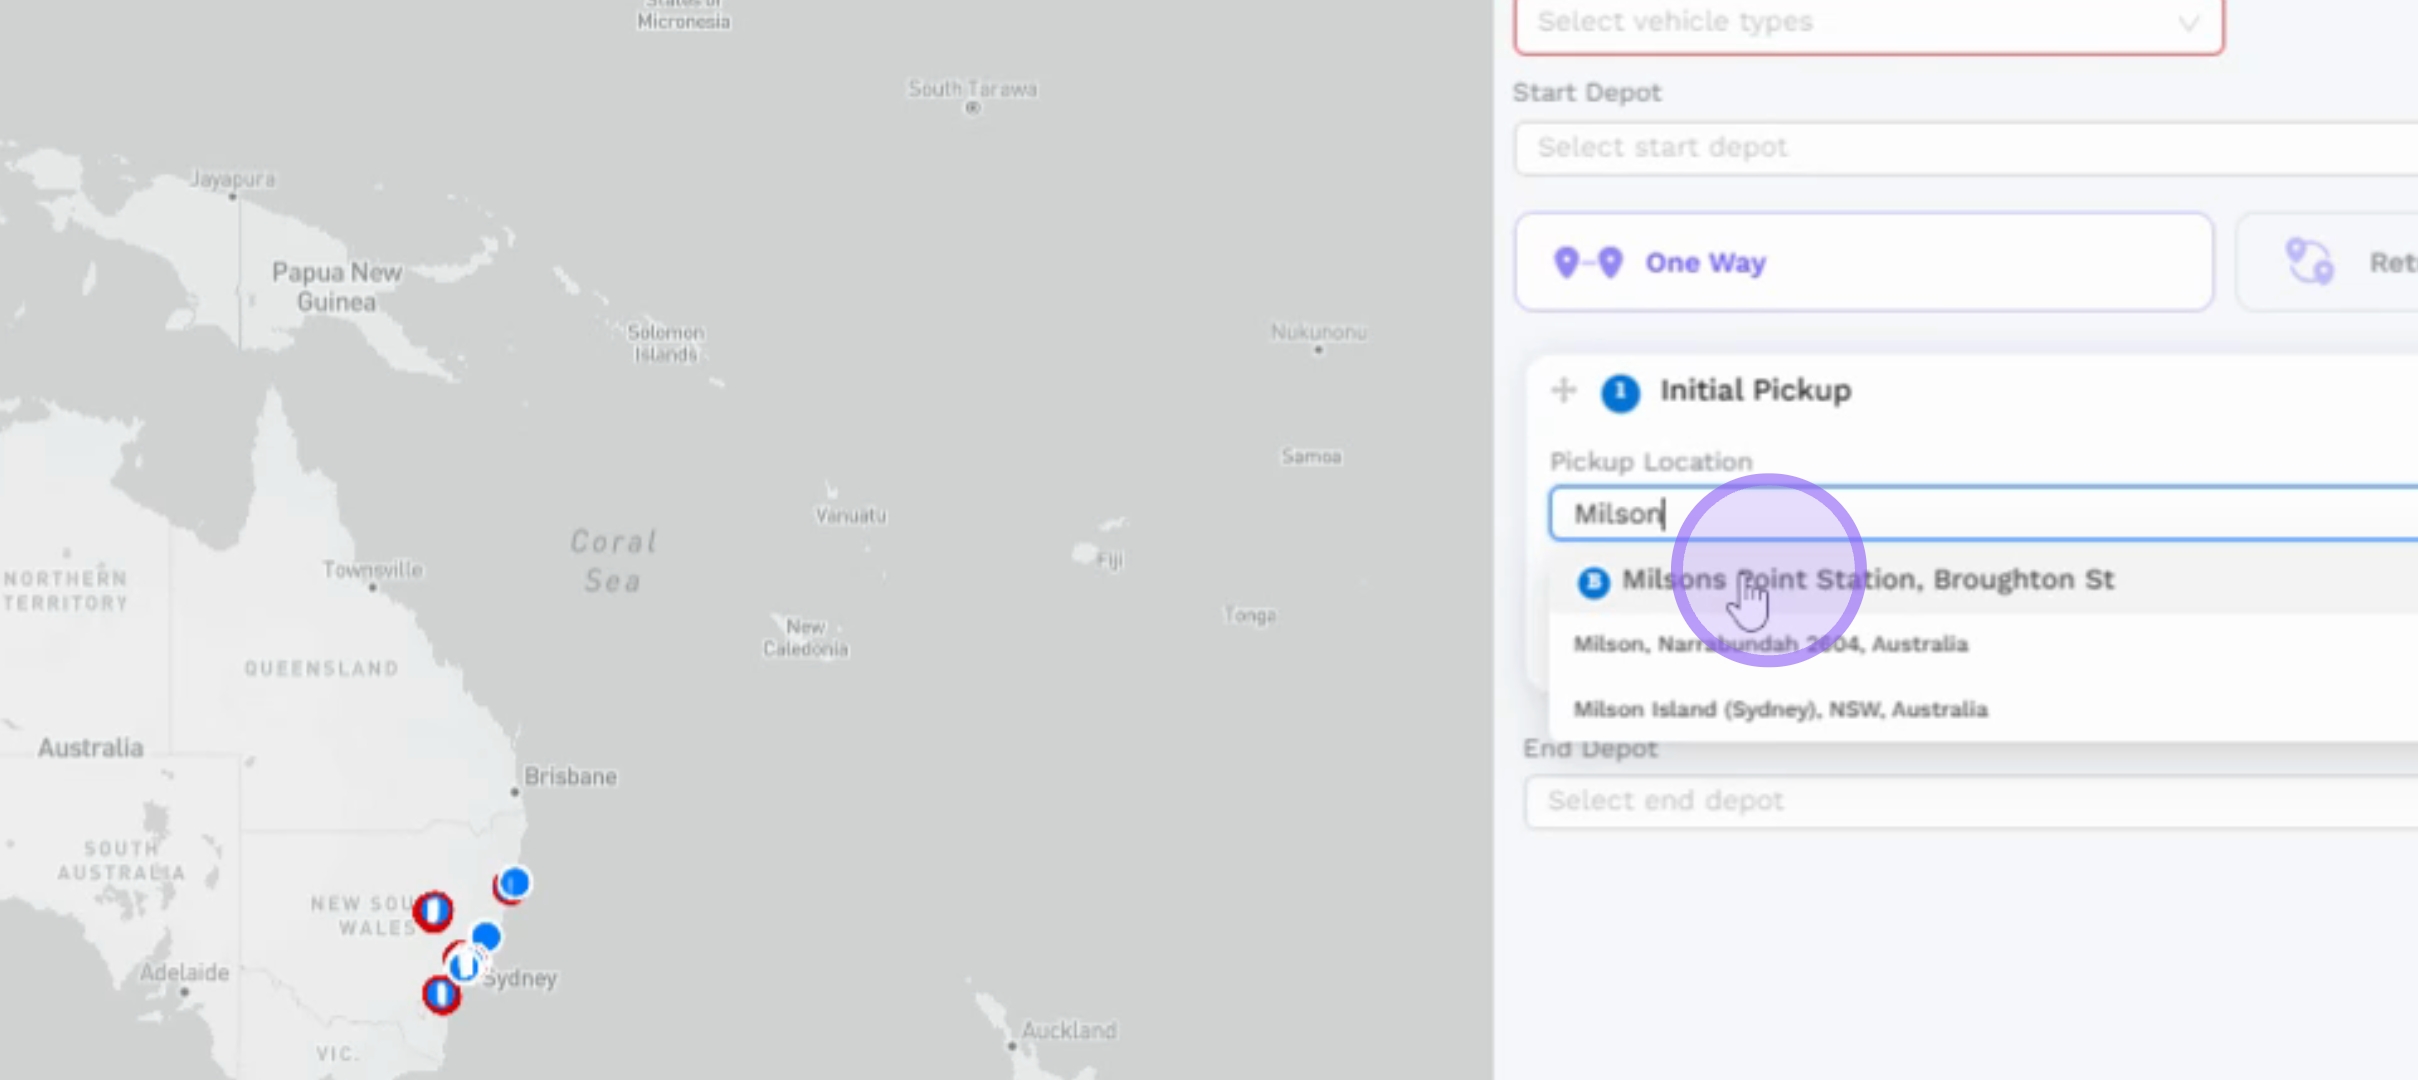
On the itinerary builder page, you can add the initial pickup point by clicking on the designated card. Next, type in the pickup location, which in this case is Milson's Point station.
3. Confirming the Stop
Once you've entered the pickup location, click on the stop to confirm this point.
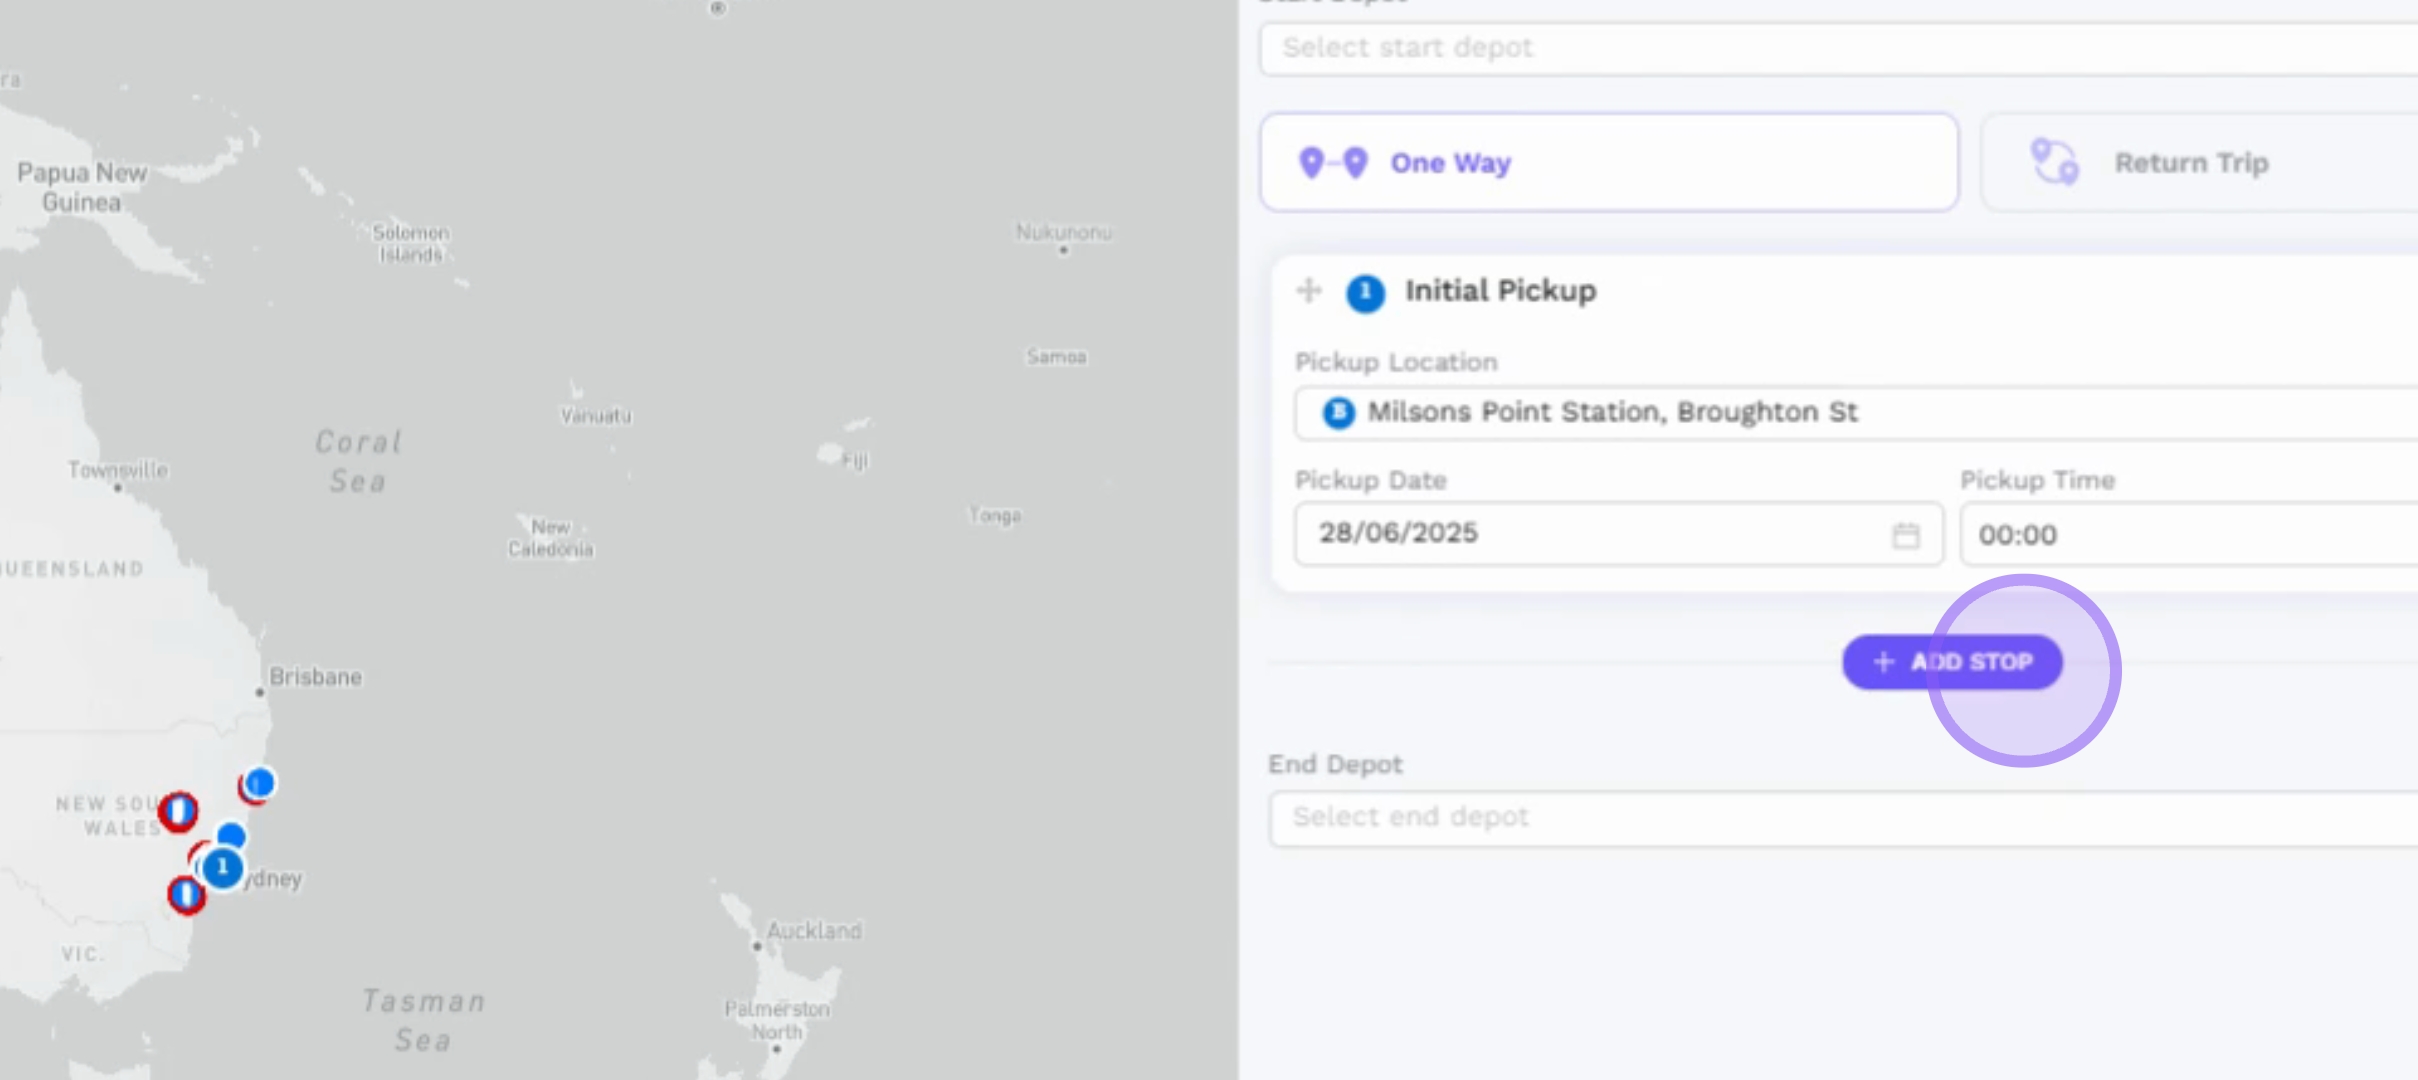
4. Adding Additional Stop Points
After confirming the initial pickup point, you can proceed to add the relevant number of stop points as needed for your charter.
5. Adding the Second Stop Point
For the second stop, add Wynyard station by clicking on this stop point.
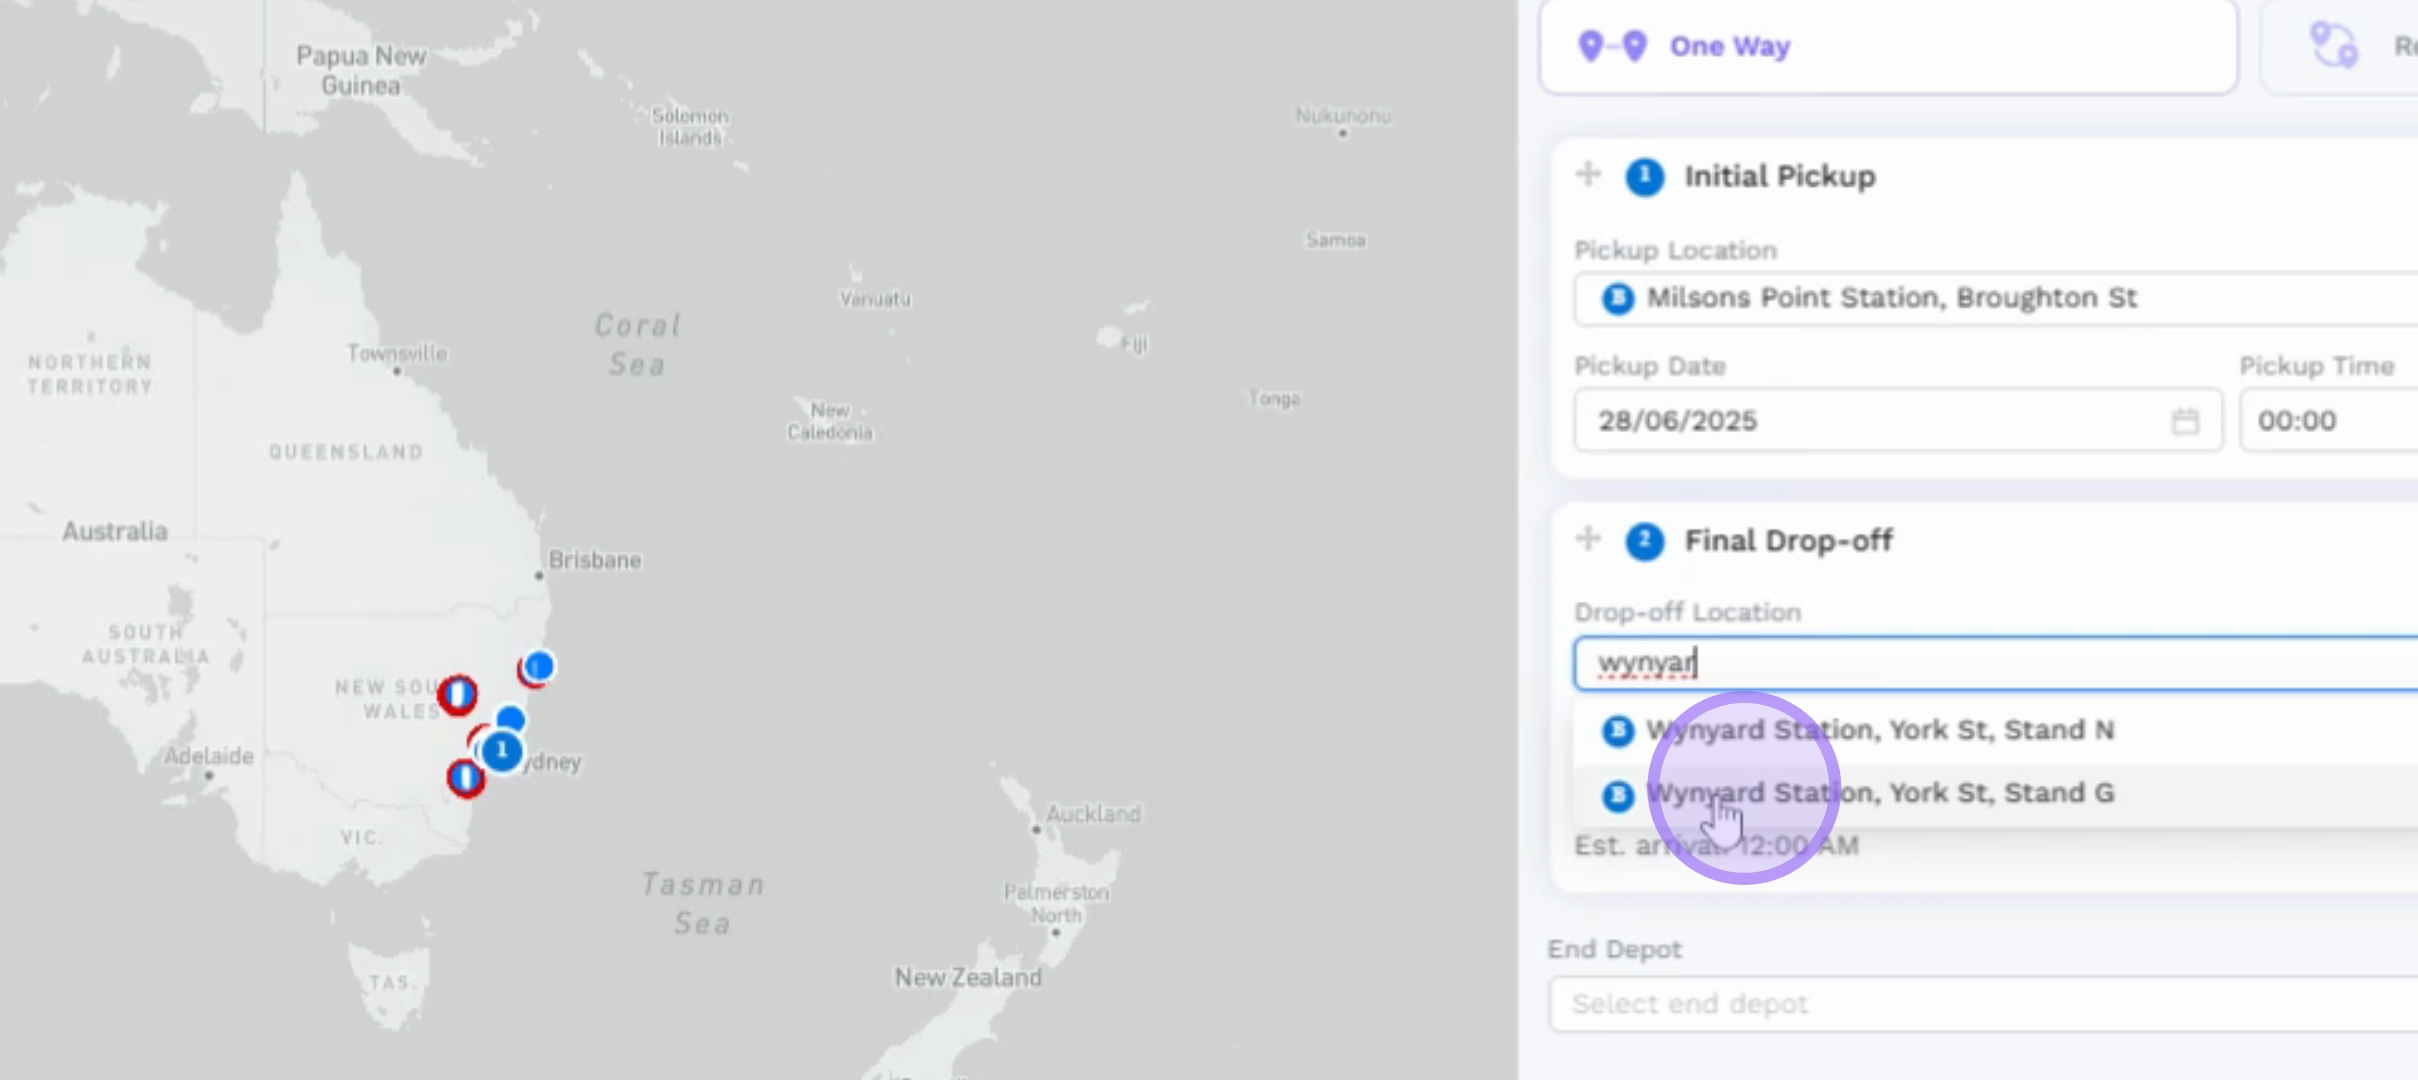
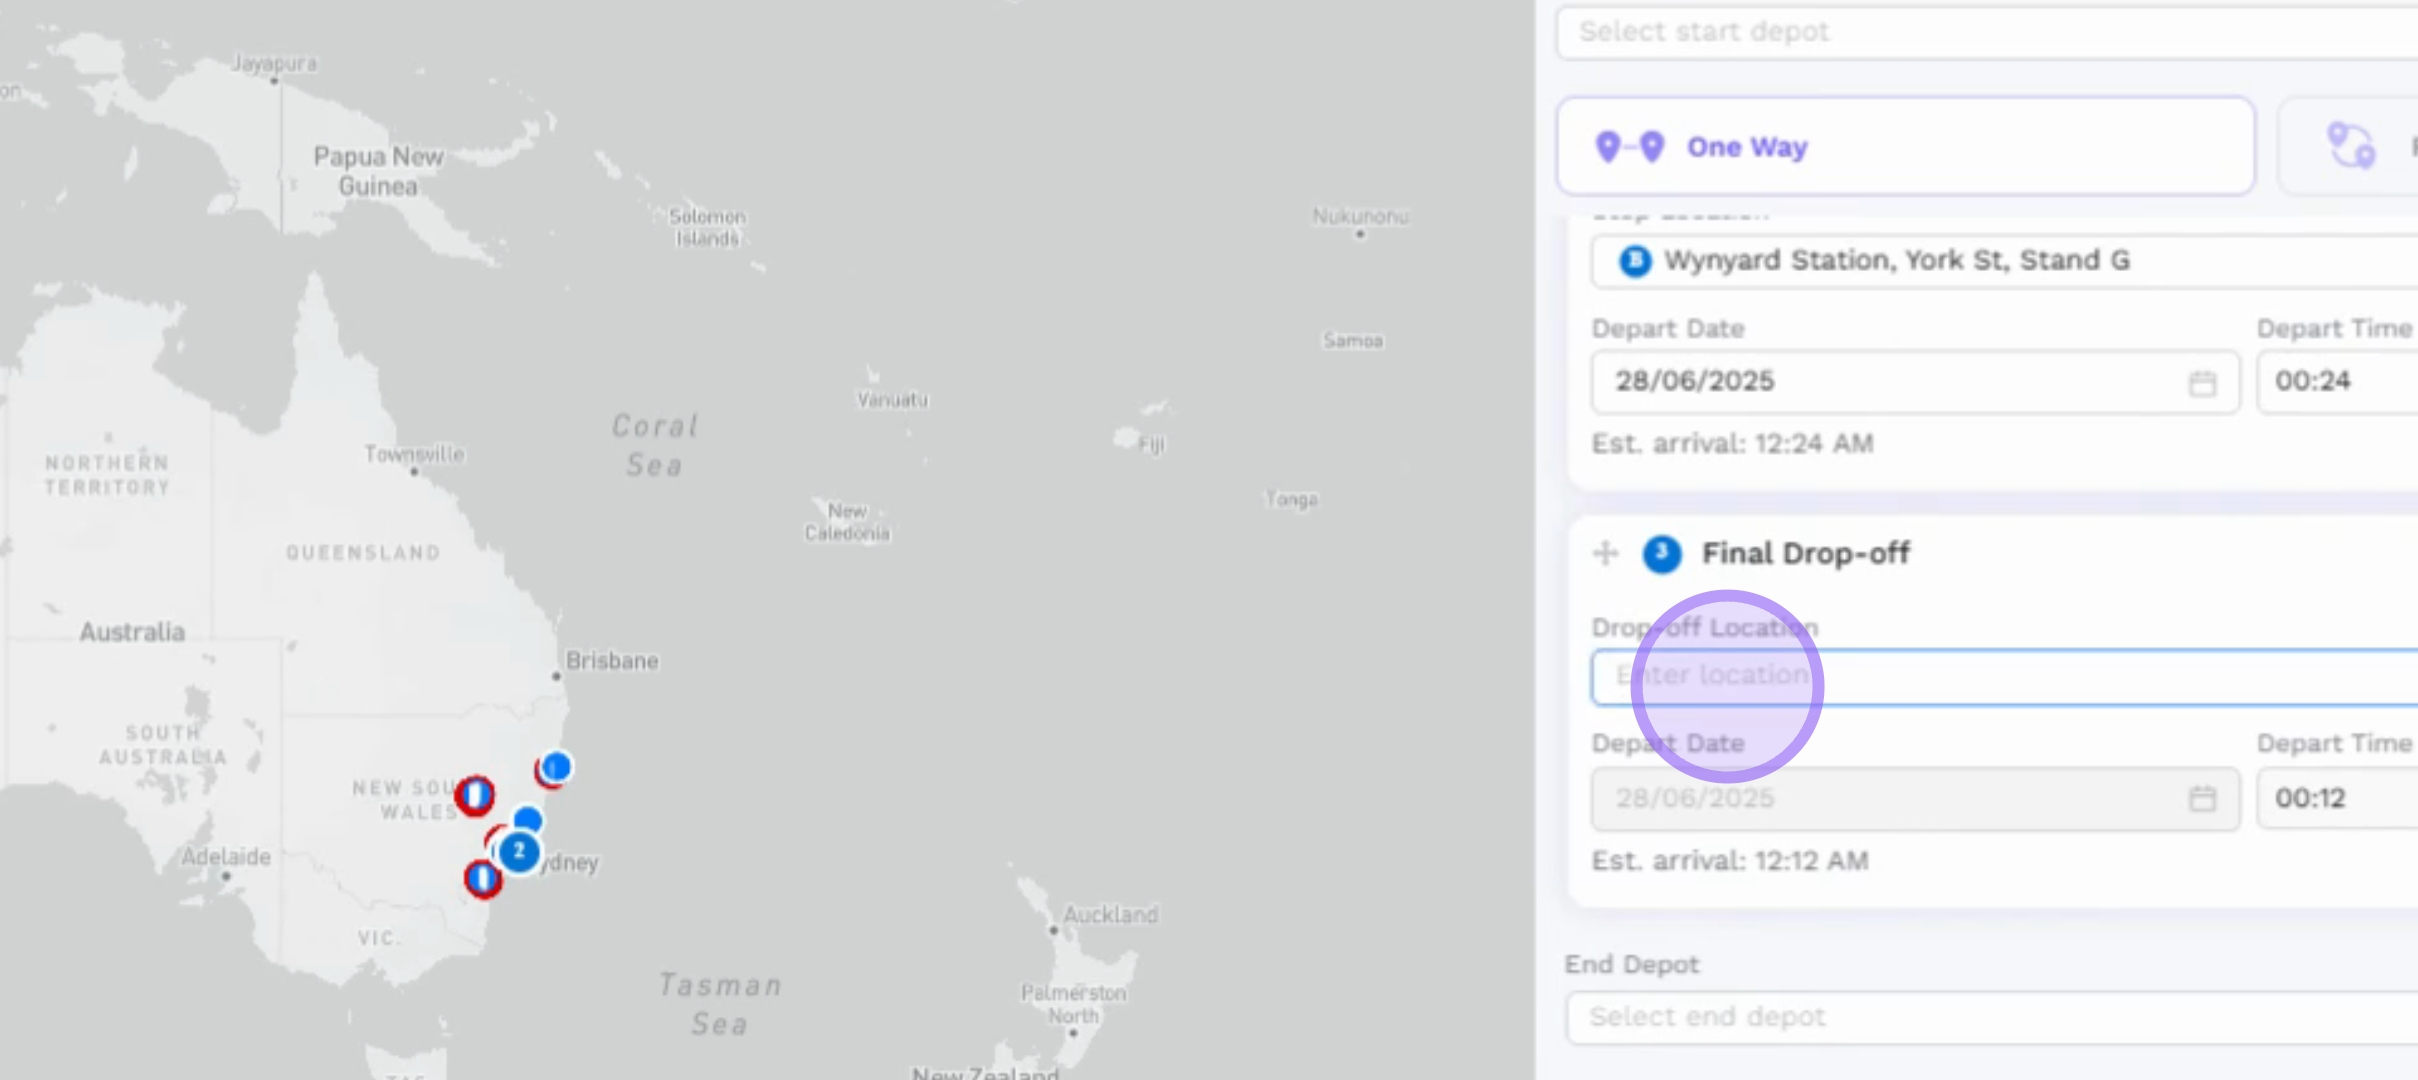
6. Specifying the Final Drop-off Point
For the final drop-off point, select Sydney Skate School as your final destination.
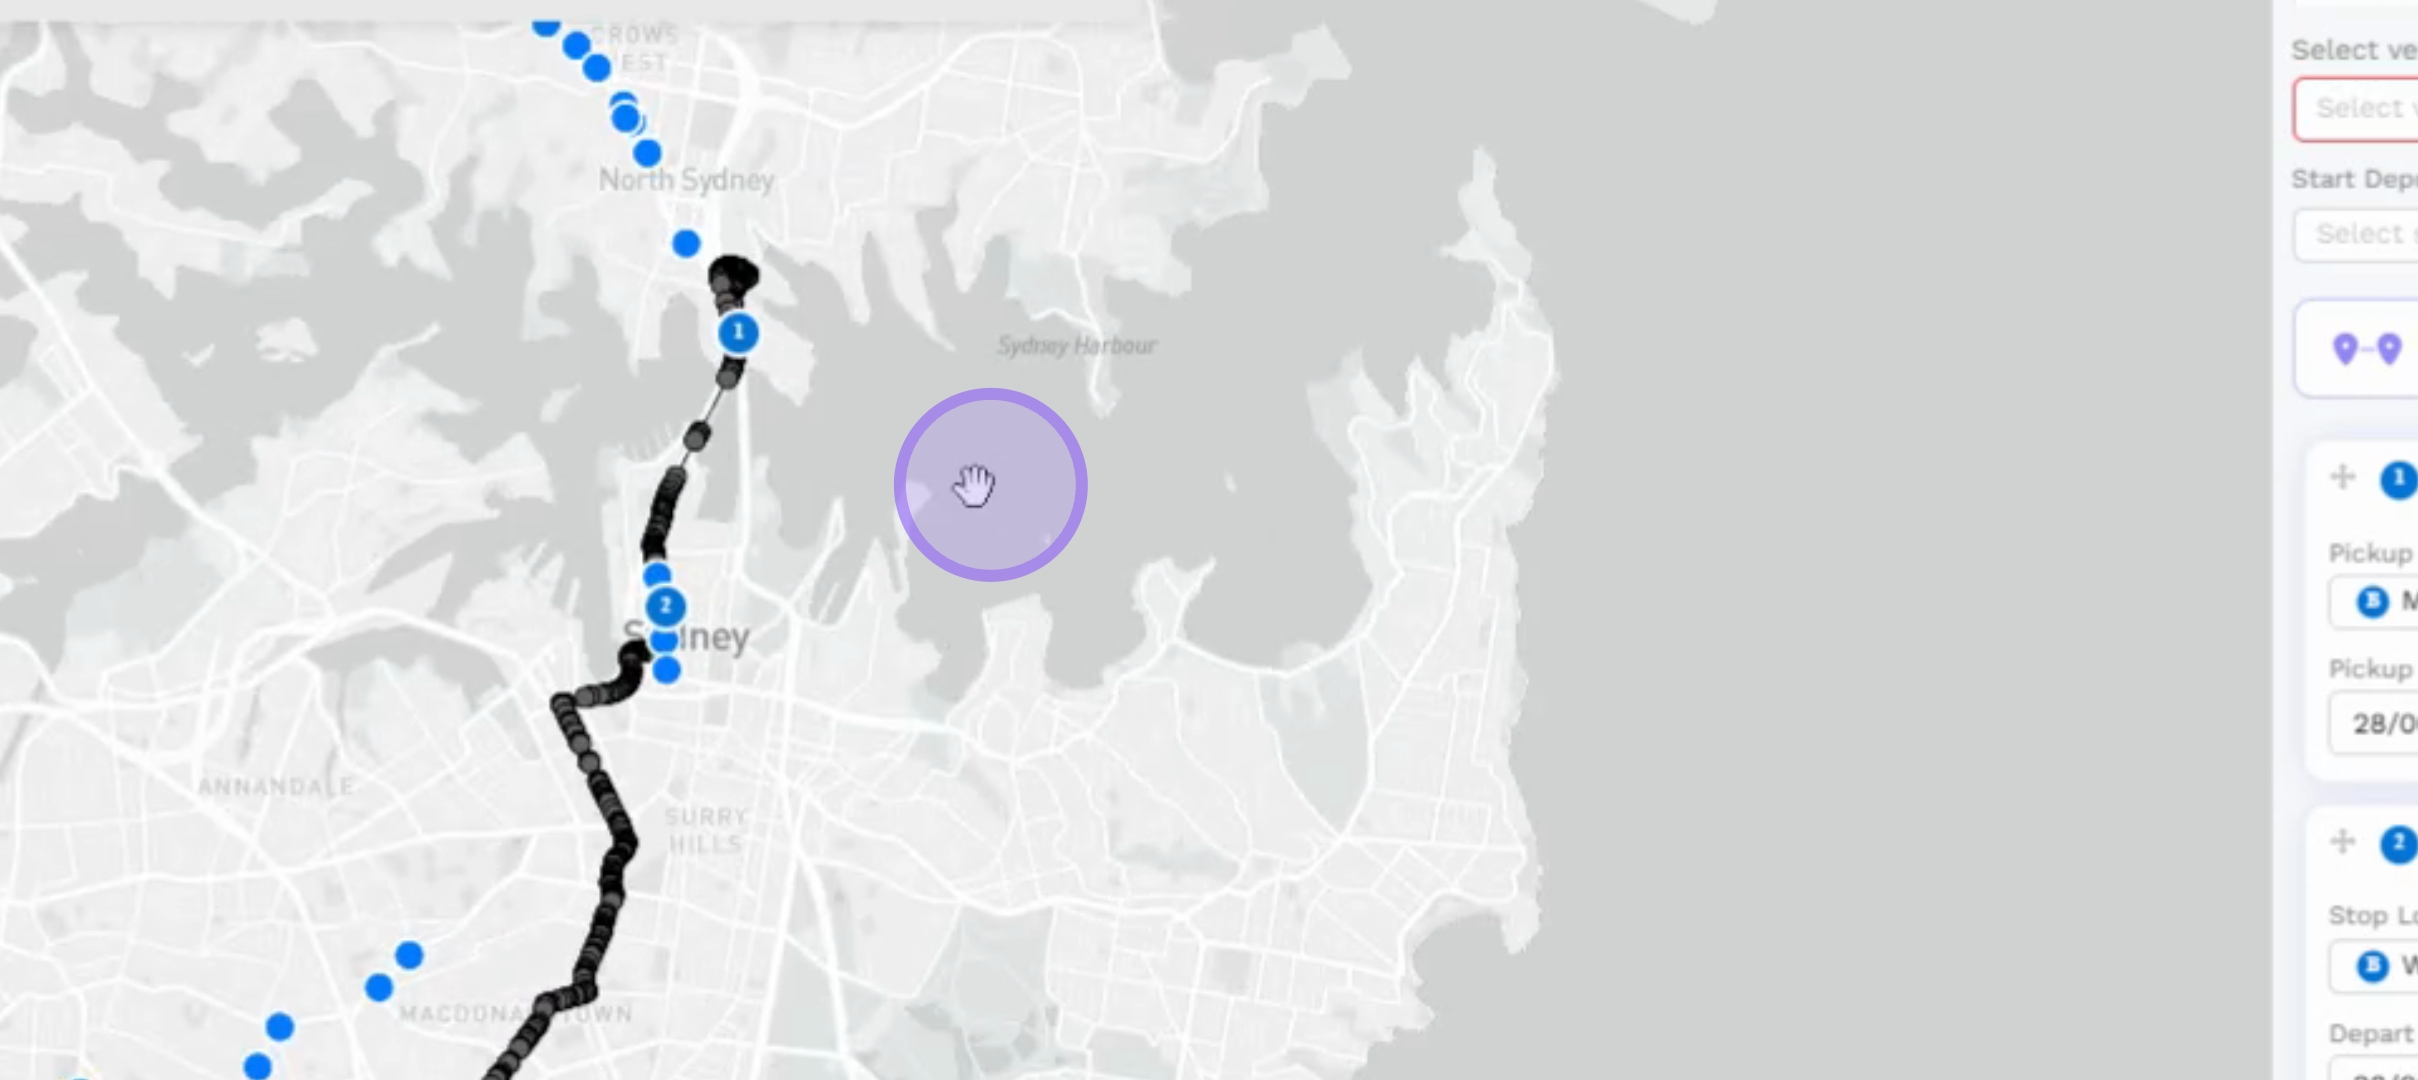
7. Reviewing the Route
As you add the stop points, you will see that the route has been built effectively.
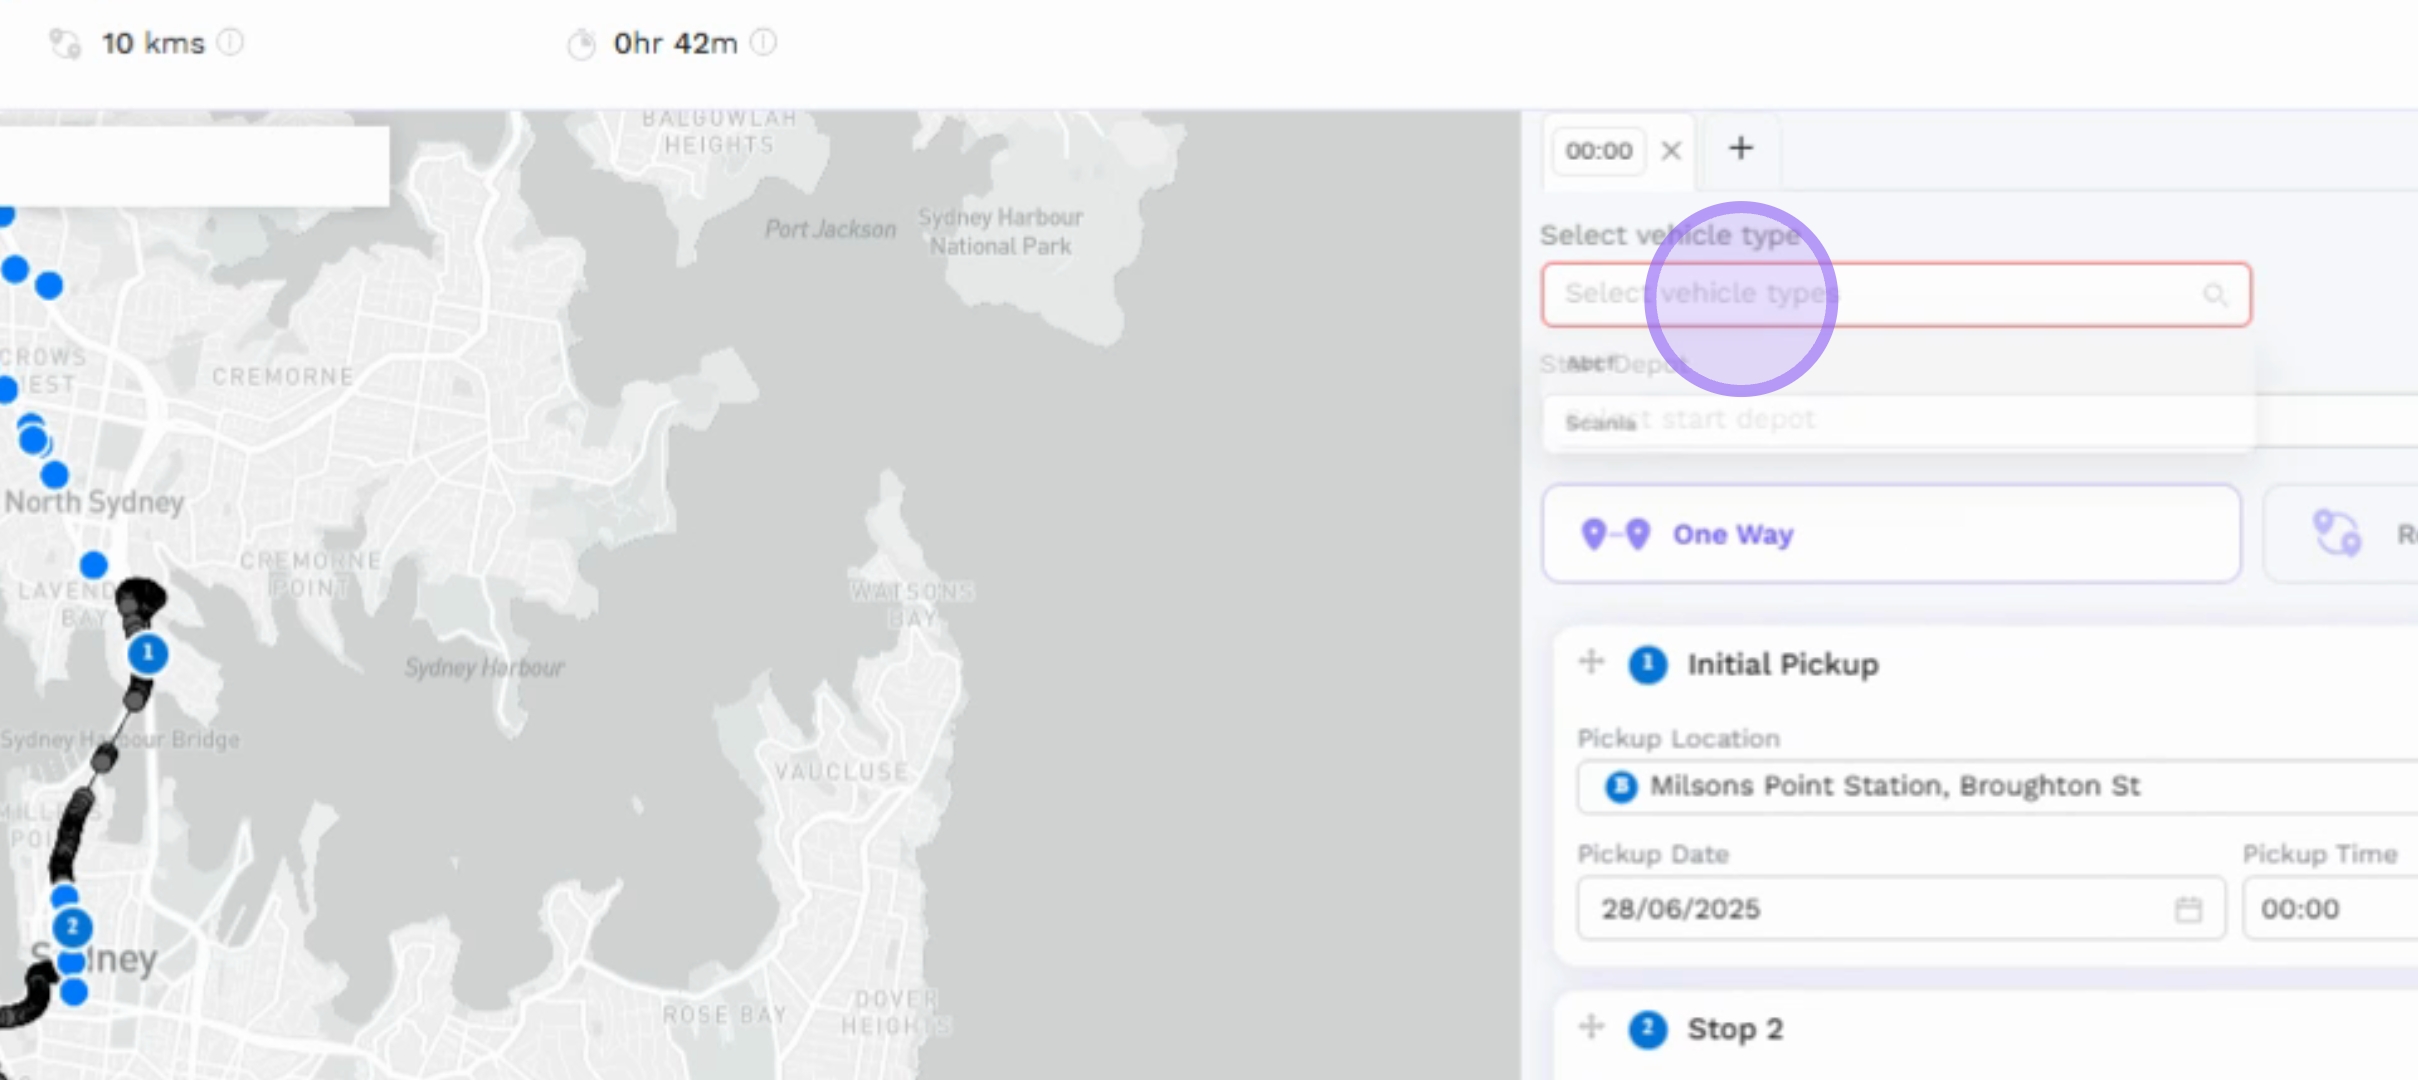
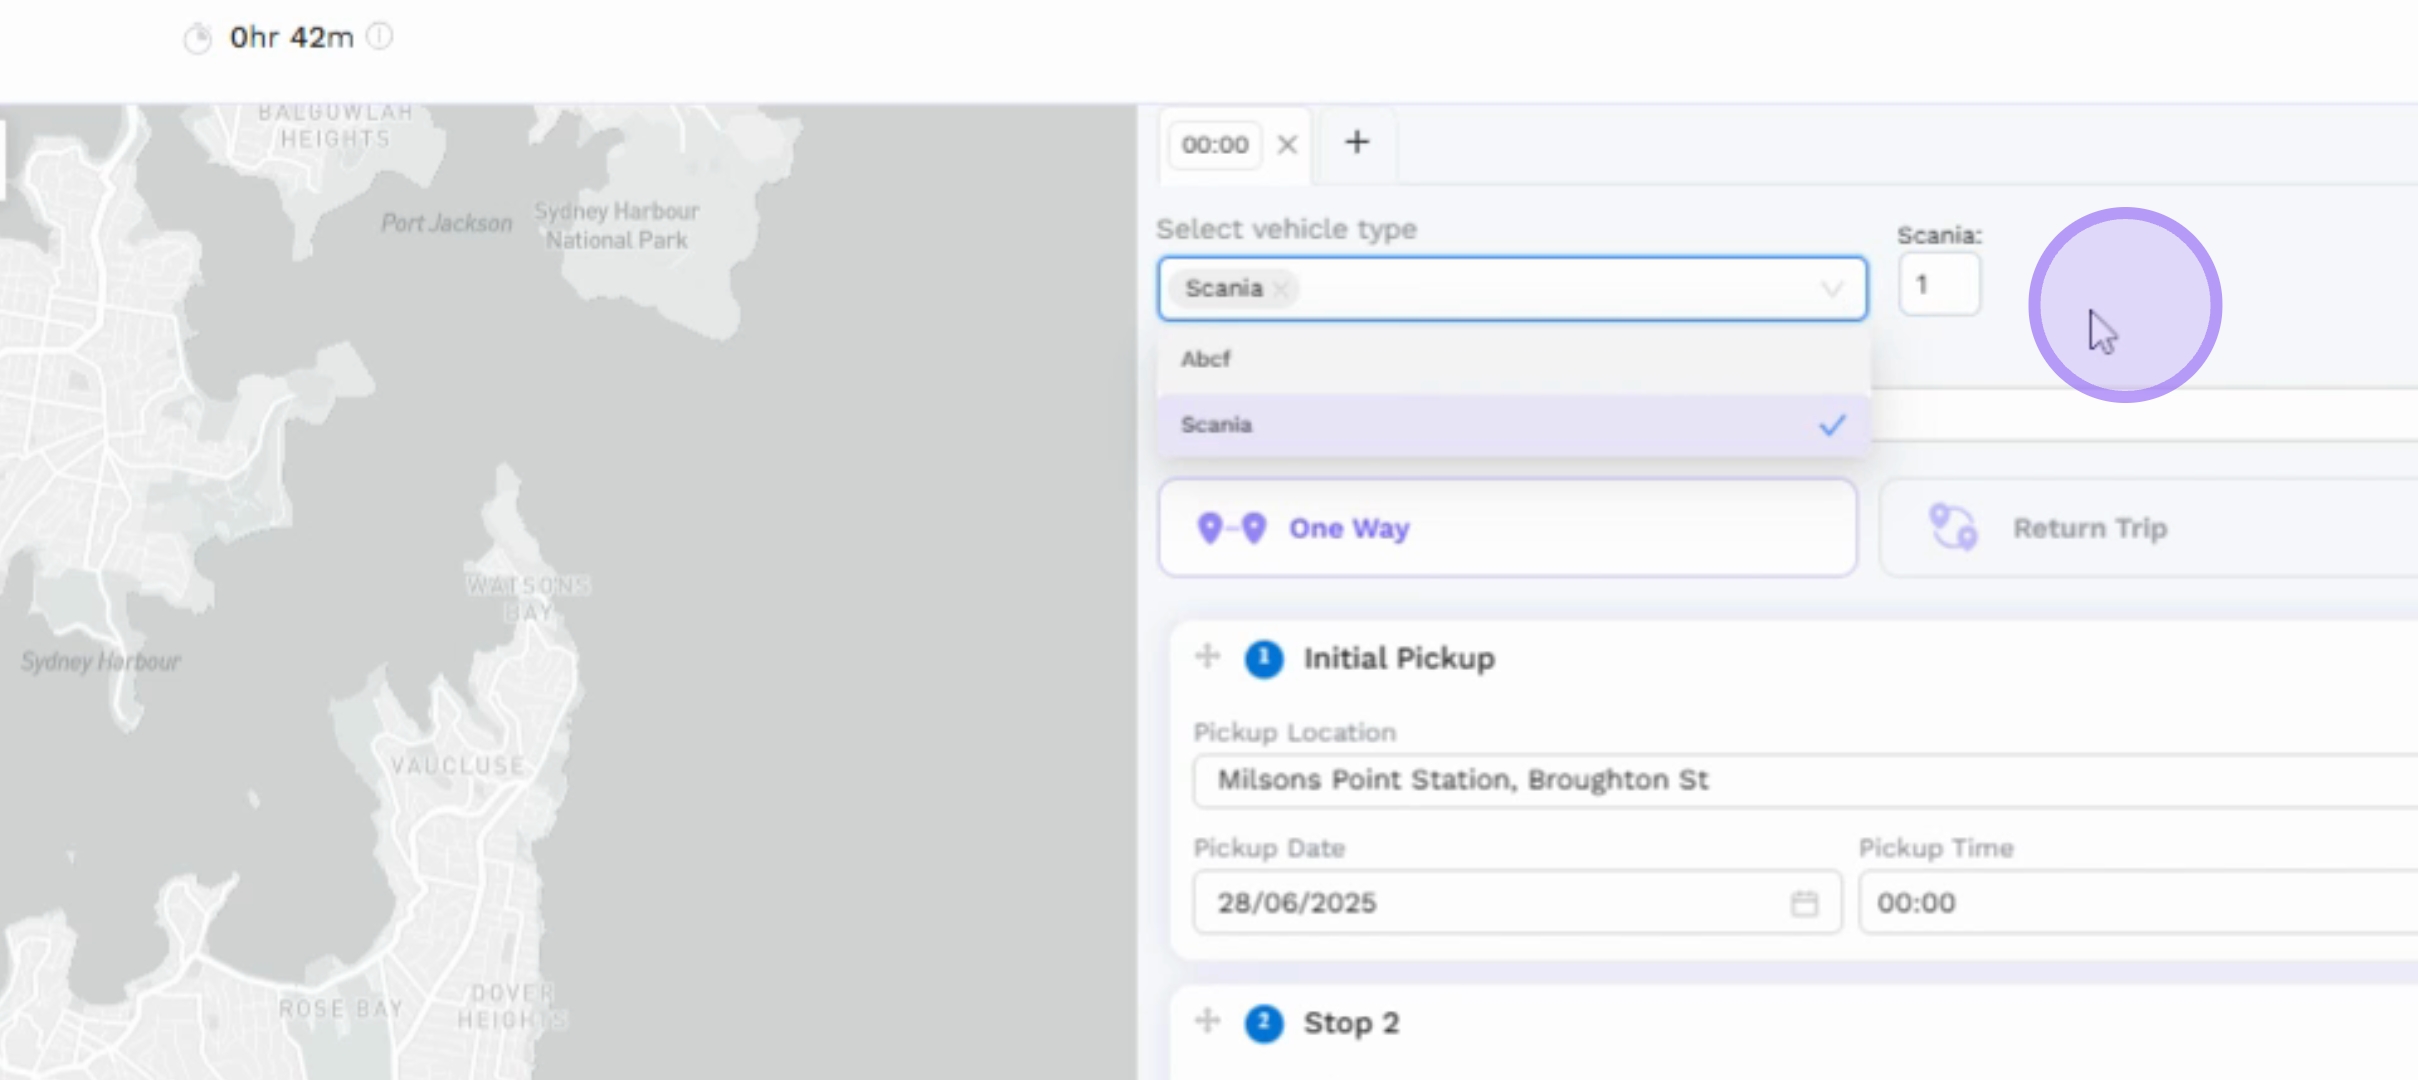
8. Selecting Vehicle Type
Once you are satisfied with all the stop points, select the vehicle type that will be used for this charter. You can choose multiple vehicle types if necessary.
9. Adding Vehicle Details
You can also specify the number of vehicles of each type needed for the charter.
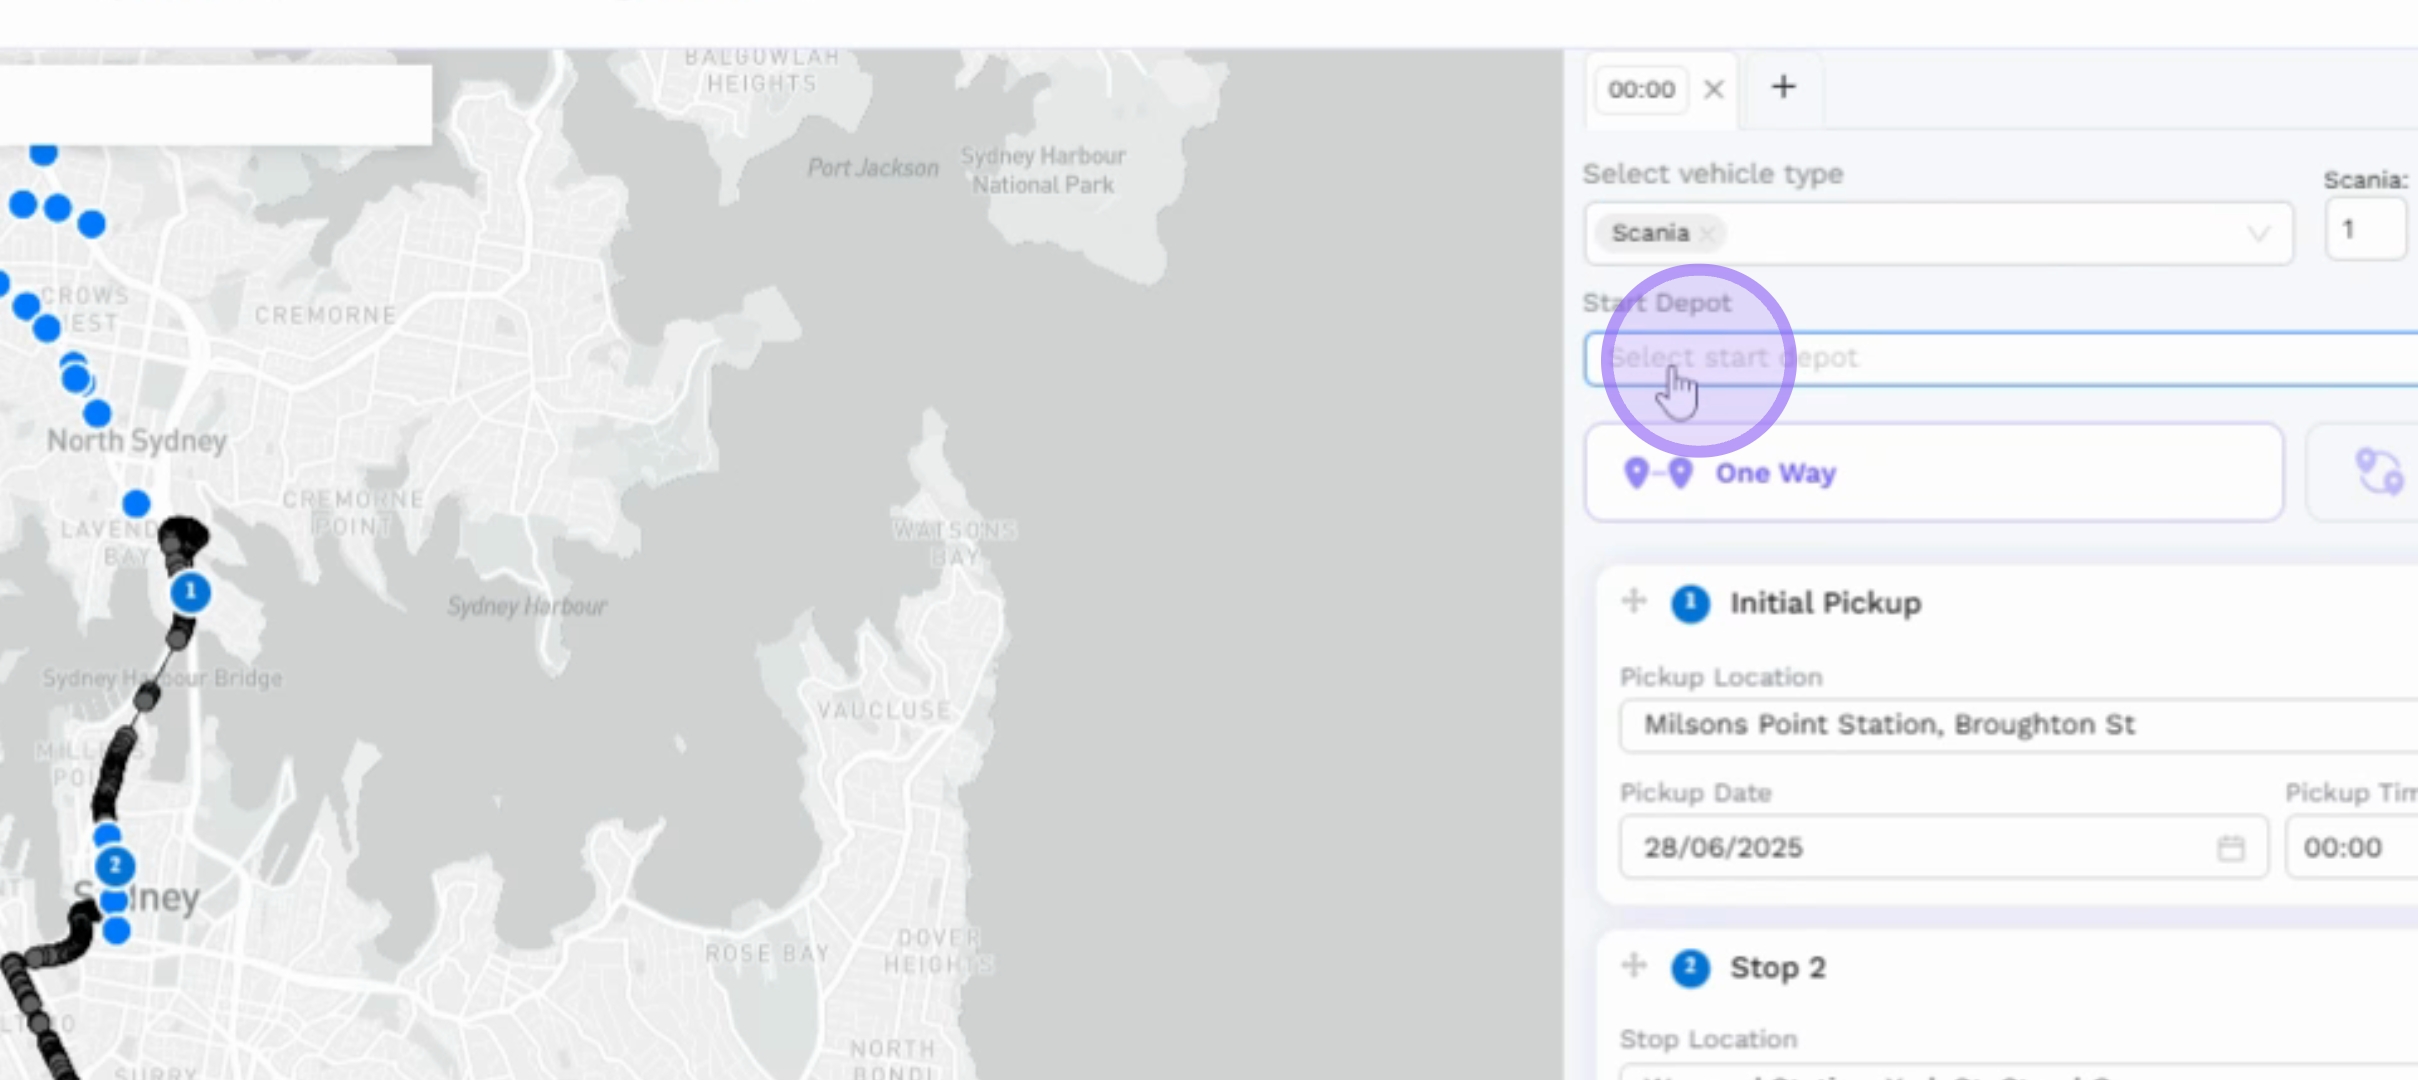
10. Inputting Depot Information
Next, add the starting and ending depots for the vehicle.
11. Setting Service Start Time
After the depot information has been inputted, set the start time for the service. For example, this charter will run at 9 AM.
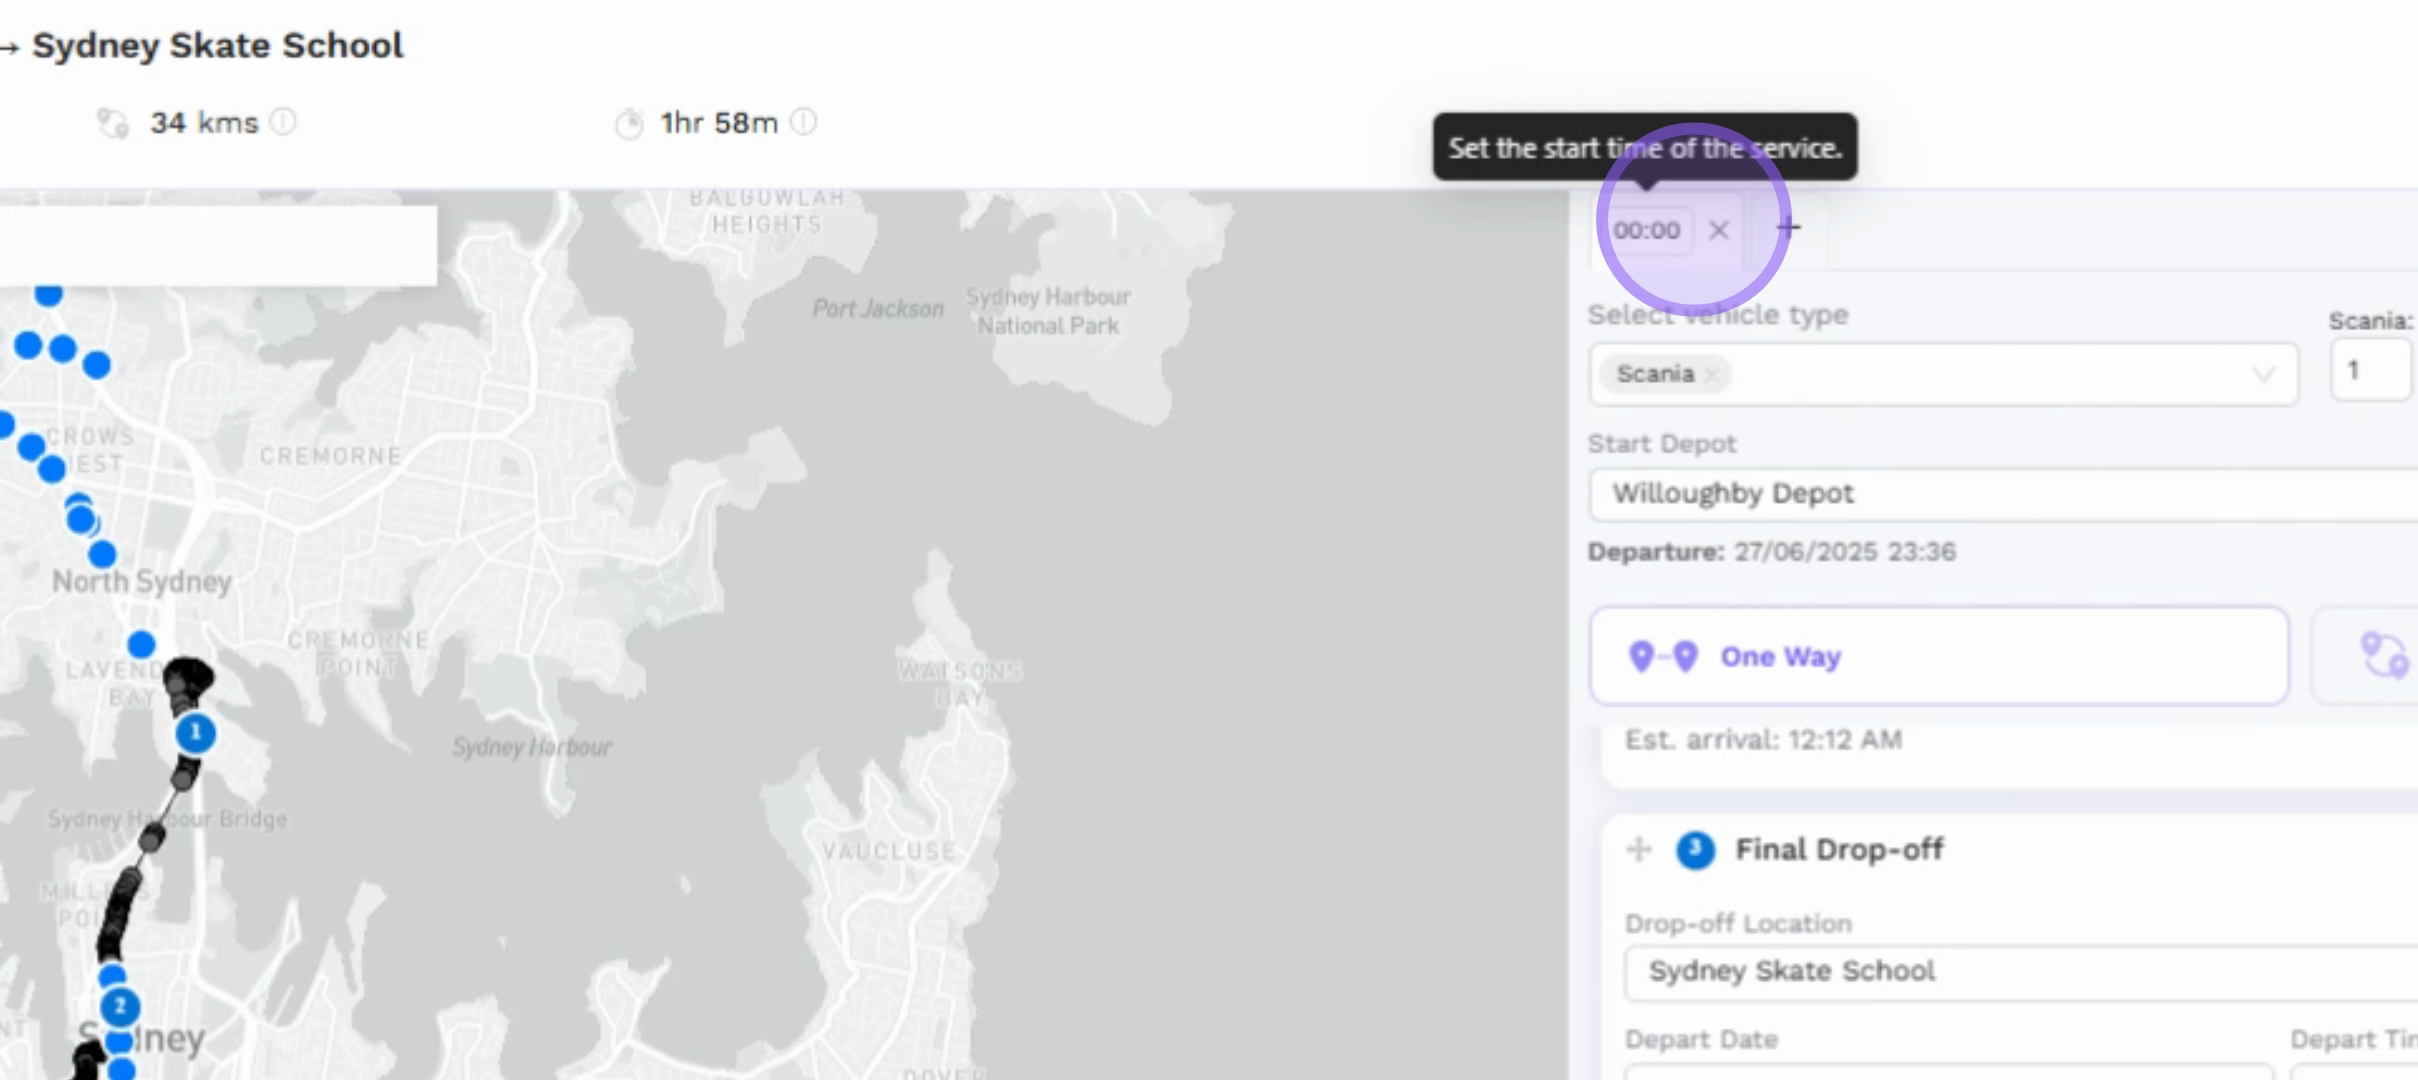
12. Reviewing Time Updates
Once the start time is set, you will see updated times for pickup, departure, and the overall service duration, which in this case starts at 9 AM and ends at 9:41 AM.
13. Saving the Charter
Finally, click on the green button that says Save to save your charter.

14. Previewing Your Charter
After saving, you will be presented with a preview of the charter that you have created.
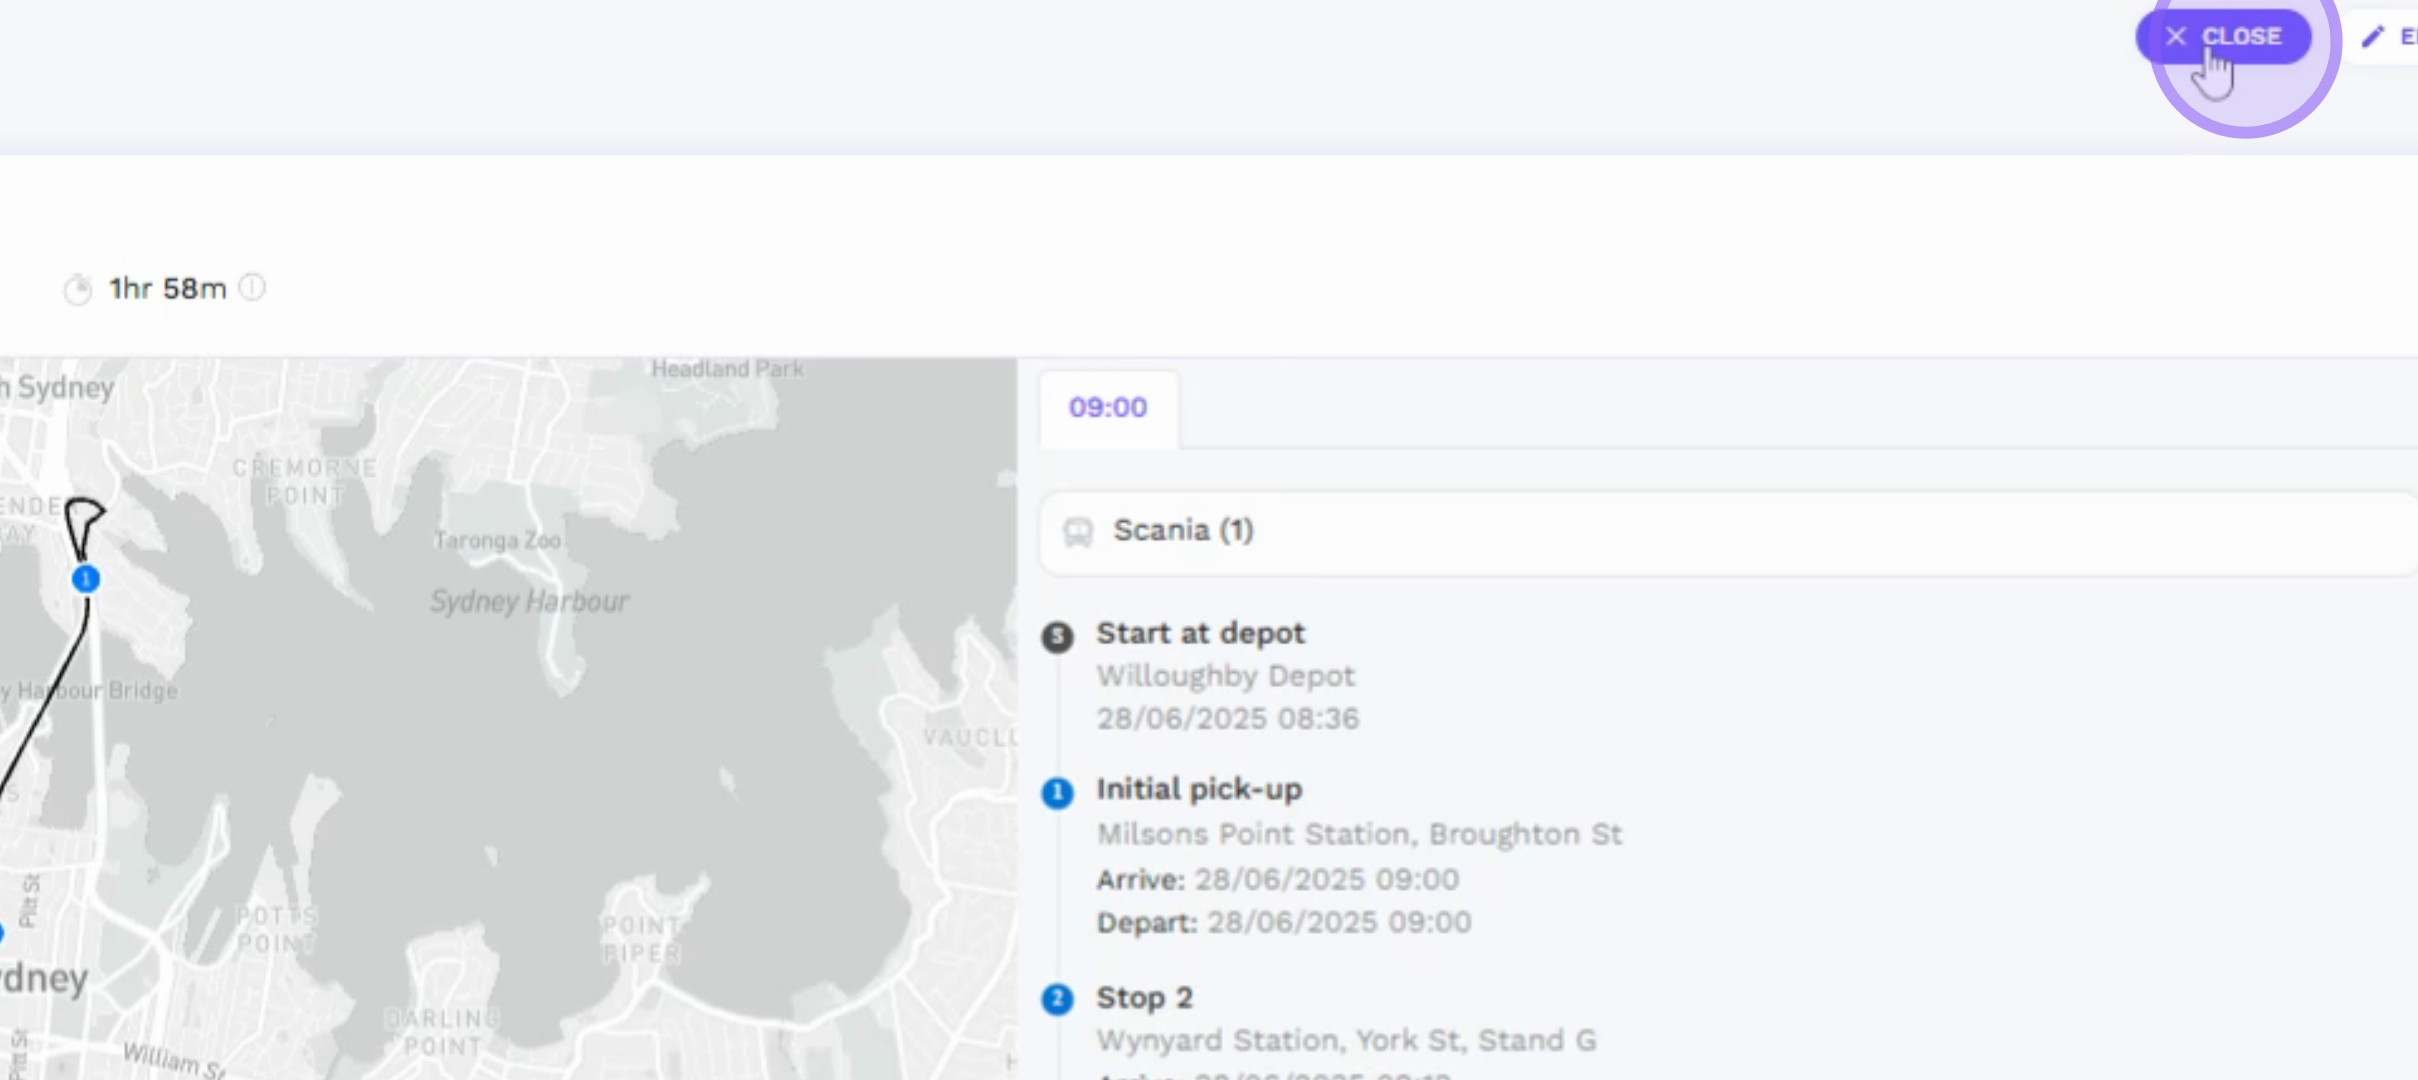
Conclusion
By following these steps, you will successfully create a simple one-way charter in our booking system, ready for your next trip.